Parallels Plesk Panel 10 end-user series
2. Becoming familiar with the Plesk interface
Welcome to Parallels Plesk Panel 10. This version of Plesk provides you with a streamlined user interface and many powerful new features.
This is the home screen, which gives you quick access to all the most important tools in each area of the Panel.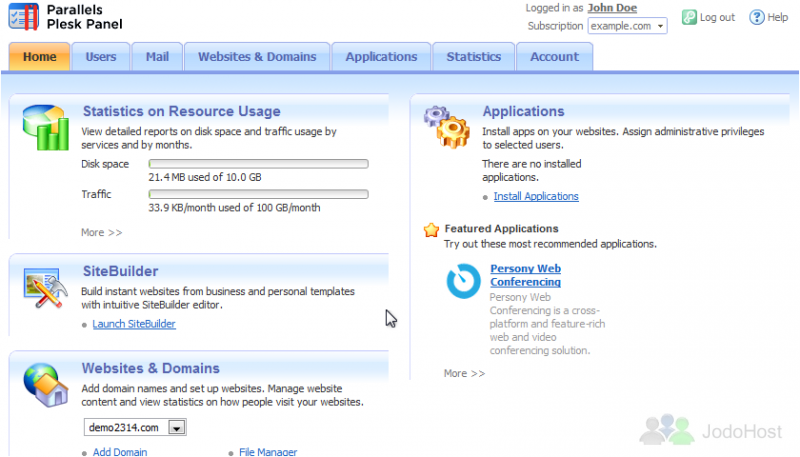
Hosting services in Plesk 10 have been restructured. You have a Customer account, which is what you use to log into the Panel. This account never expires, but this alone doesn't actually provide you any hosting services.
Instead, when you sign up for a hosting plan, a new Subscription is added to your account. Your Customer account simply provides you access to your Subscriptions. You can have as many Subscriptions on one account as you need.
1) If you have more than one Subscription on your account, you can switch between them using this drop-down menu.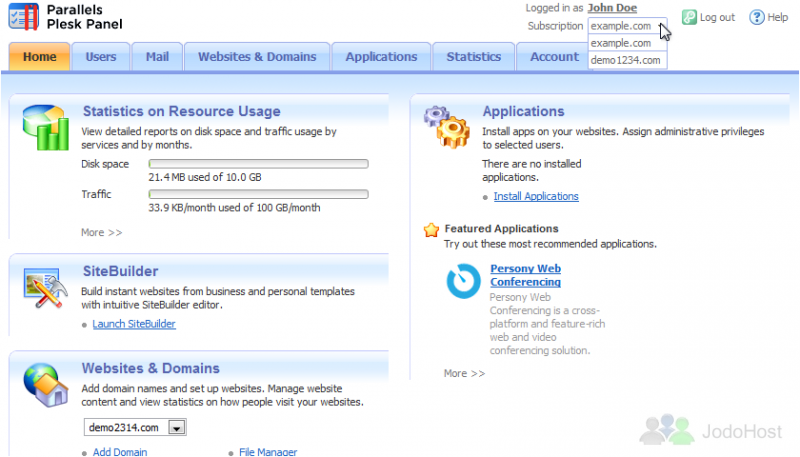
Notice the interface has changed to display our other subscription.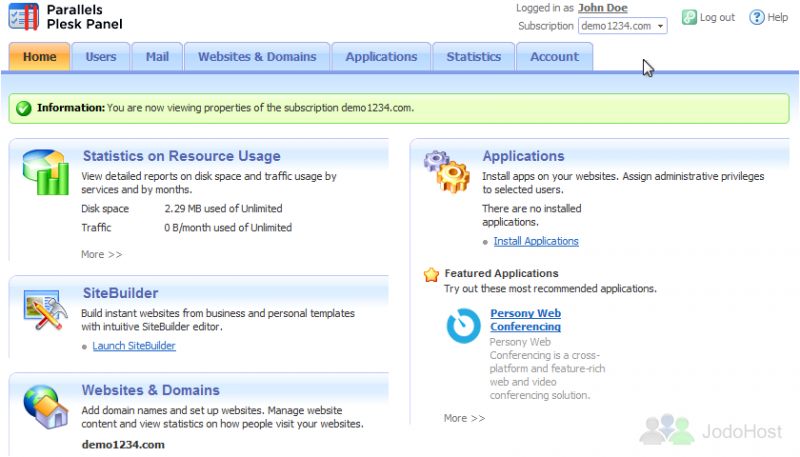
2) You'll find a list of all your Subscriptions on the Account tab.
Use these links on the left for detailed information about exactly what your Subscriptions provide. Or, use the links on the right as an alternative way to switch to another subscription.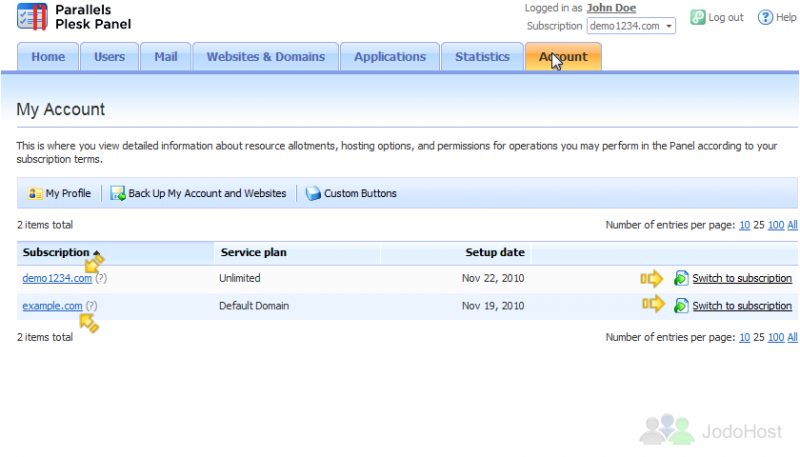
3) Now let's check out some of the other areas of the Panel, starting with the Users tab.
If you want to allow other users to access the Panel to manage websites, installed applications, or to use e-mail services under your domains, instead of giving them your login info, you can create User Accounts for them. These accounts are assigned Roles, which are sets of permissions that give you control over exactly what kind of access your users have to your subscription. Note that User Accounts created on one subscription don't have access to others.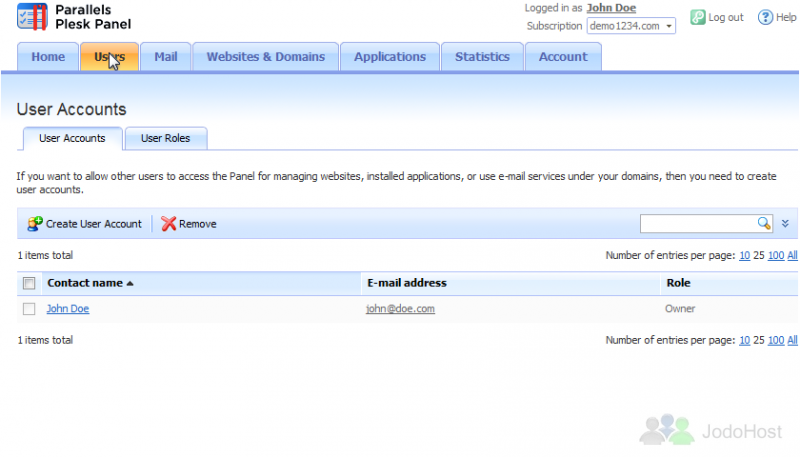
4) Now for the Mail tab.
Here you can create and manage the e-mail accounts associated with your domains. For each e-mail account, you can set up a mailbox, aliases, auto-reply, and forwarding.
5) Next, go to Websites & Domains.
This is the area of the Panel that gives you complete control over your websites and their content. Depending on the features that are activated on your subscription, you may have different options available to you. When your hosting account was activated, it was configured with one new website assigned to the domain name you specified when signing up. If your hosting package allows you to use more than one domain name, you can use the additional domain slots to set up more websites.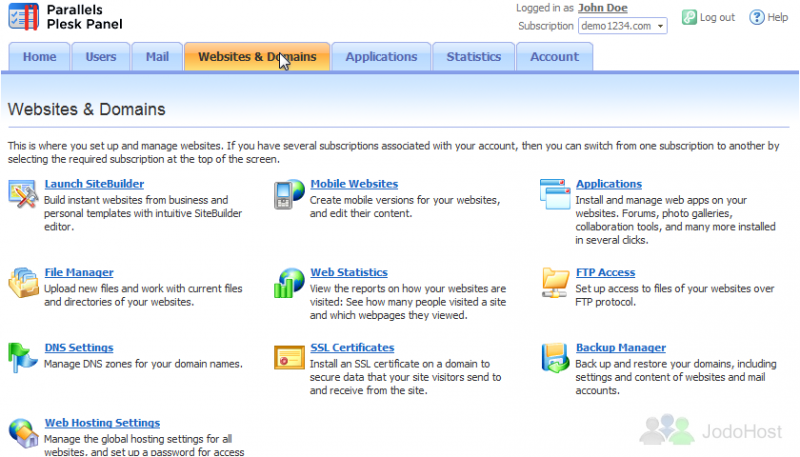
6) The Applications tab is next.
Plesk comes with a built-in application installer that's prefilled with a number of useful applications, and your hosting provider may have added even more. This is where you'd go to view and install these applications, and manage existing app installations.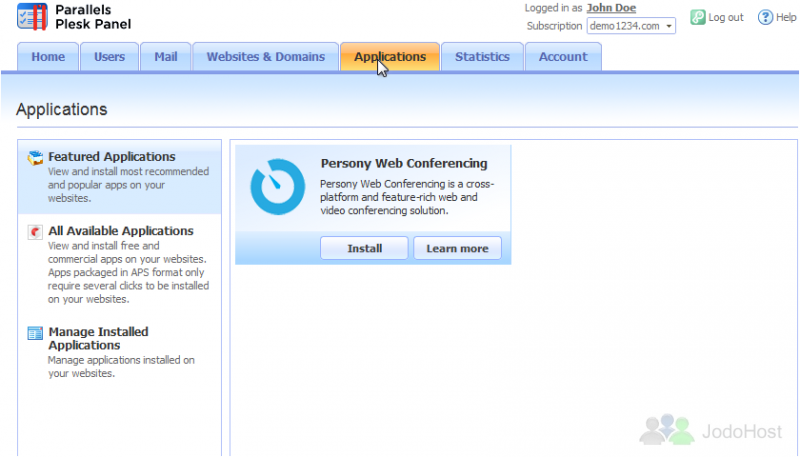
7) And finally, the Statistics tab.
This is where you view detailed reports on how the resources provided with your subscription are being used.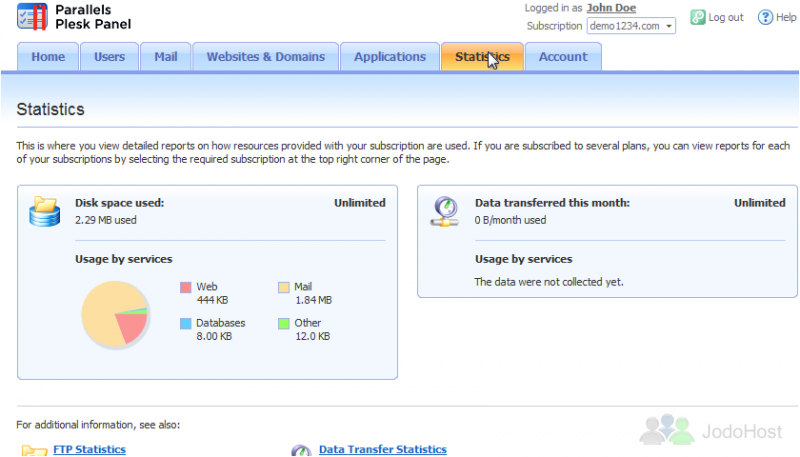
Now that you've seen all the main areas of Plesk, be sure to check out the tutorials that follow if you ever need help performing more-specific tasks in Plesk.