Parallels Plesk Panel 10 reseller series
6. How to create and manage Service Plans in Plesk
A Service Plan is a set of services and resources offered to hosting customers. Typically, the resources include disk space on the server and bandwidth for hosting websites, and the services include web hosting, mail hosting, etc.
1) Let's see how to add a new plan. Go to Service Plans.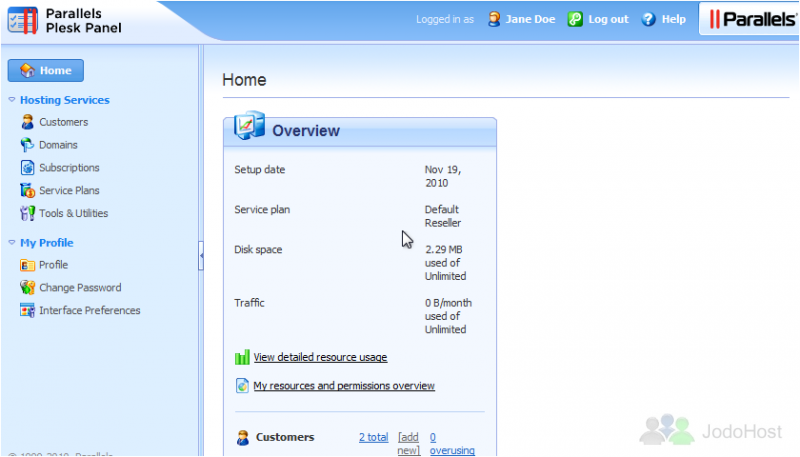
2) Add a new plan by clicking the Add New Plan icon.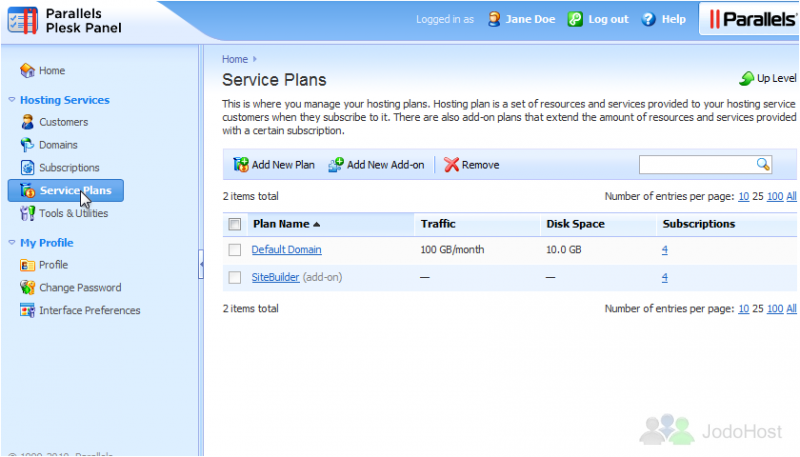
3) Enter a name for the new service plan.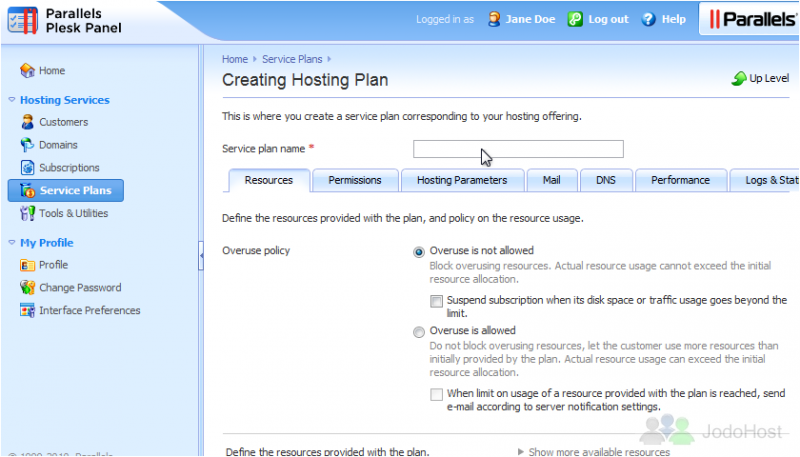
4) The Overuse Policy defines what happens if the subscription's usage of disk space and traffic reaches the specified limits. Disallowing overuse will block overuse of resources.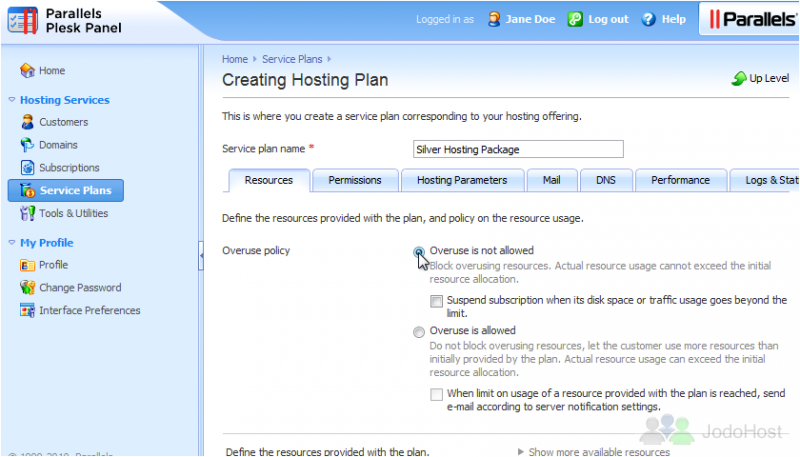
5) If a subscription goes over its allowed limit, it will only be suspended if you check this box.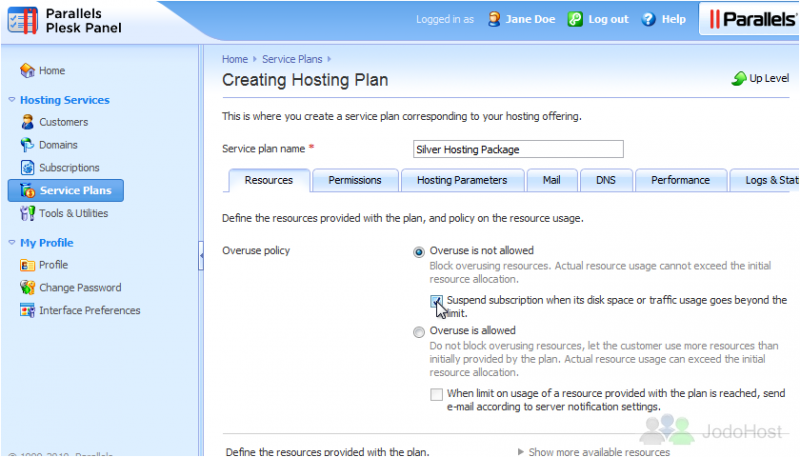
You can also choose to allow overuse. If you do this, you have the option of sending an e-mail whenever a limit is reached, according to the server's notification settings.
6) Define the disk space and monthly traffic limit provided with the plan.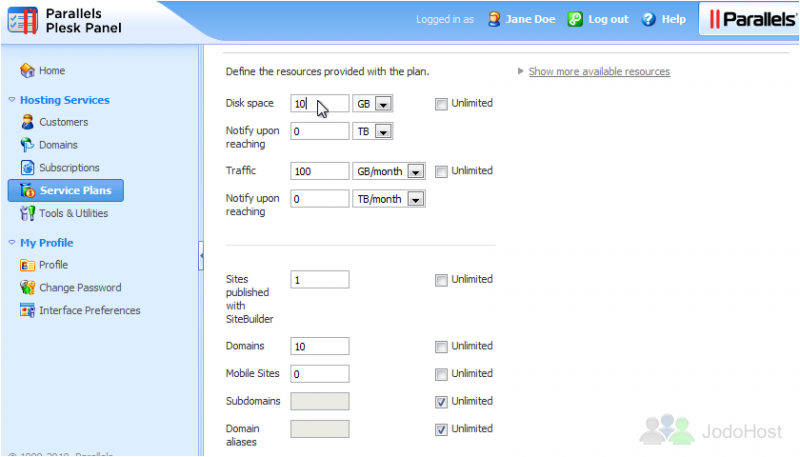
7) Choose Unlimited for any option you want to have no limit.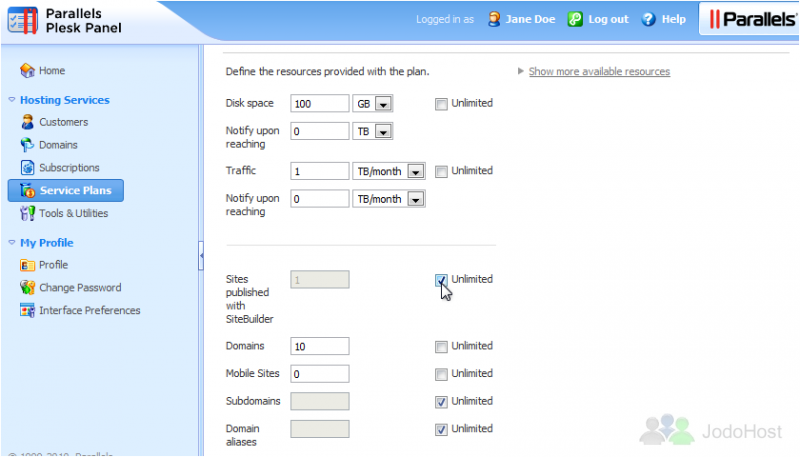
This is where we can set mail related settings like the number of mailboxes and their maximum allowed size. Below those are miscellaneous options that control the maximum number of additonal FTP accounts, total number of databases, and the length of a term for the subscription.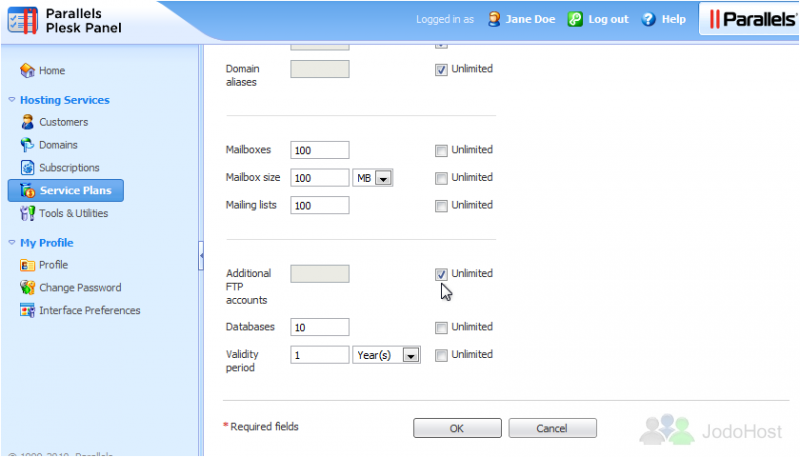
8) Let's set the Permissions next. Permissions define what privileges and services are provided with the subscription.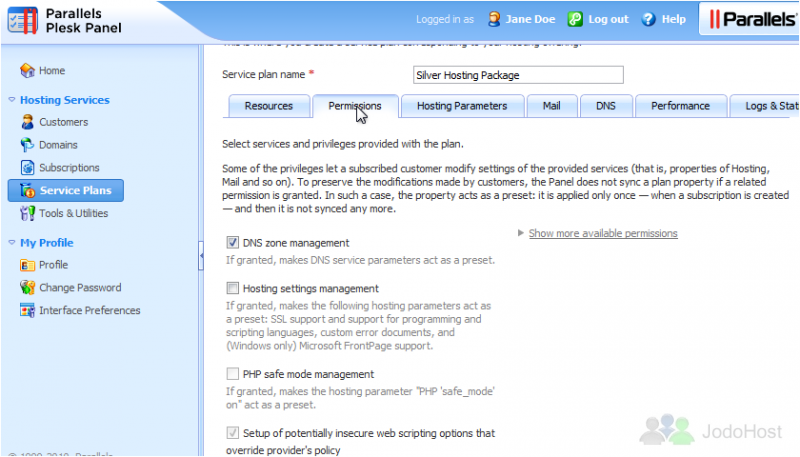
9) Choose which privileges you want to allow.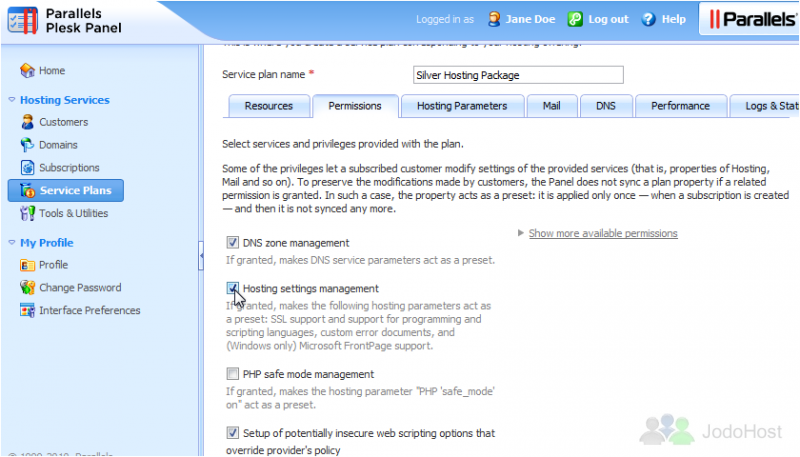
At the bottom, you can choose to allow management of the spam filter, antivirus, statistics, log rotation and more.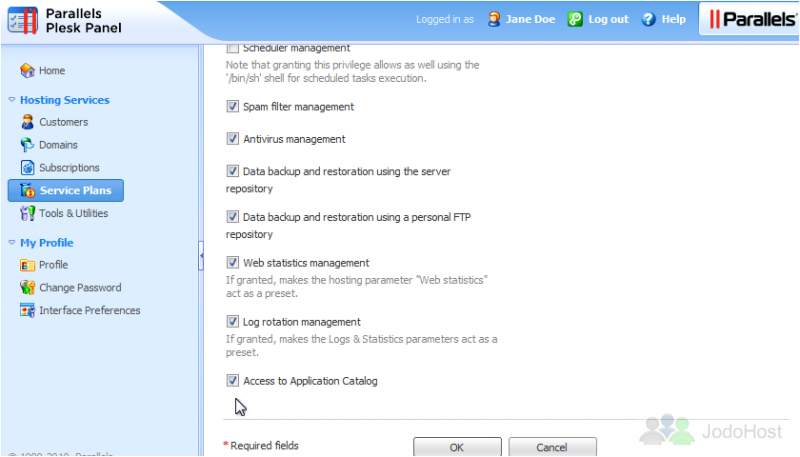
10) Go to Hosting Parameters. Leave the first box checked if you want to provide hosting with the plan.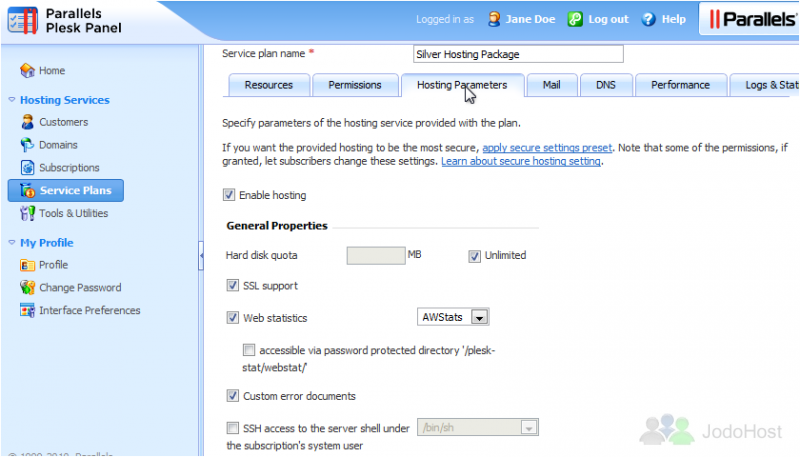
11) Setting the hard disk quota will send an "out of disk space" error to the user upon reaching the maximum.
12) Choose any scripting languages you want to allow. PHP is recommended at the very least as it is commonly used for many sites, especially in web applications such as Joomla.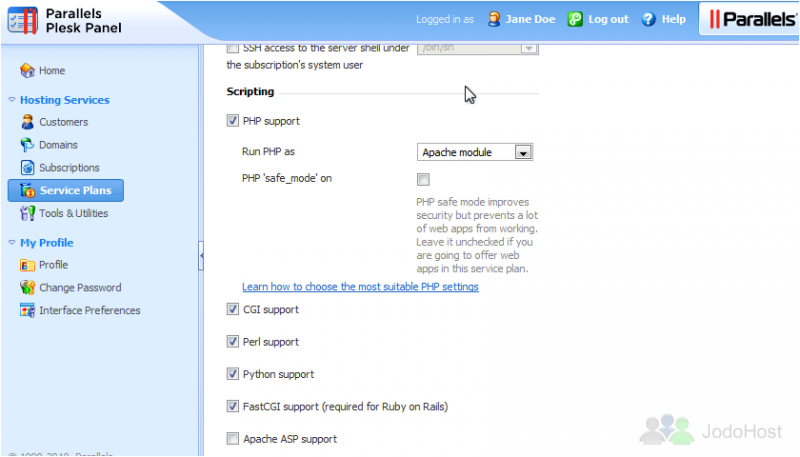
13) Click Mail.
14) These parameters define the mail service provided with the plan. Set the webmail program here.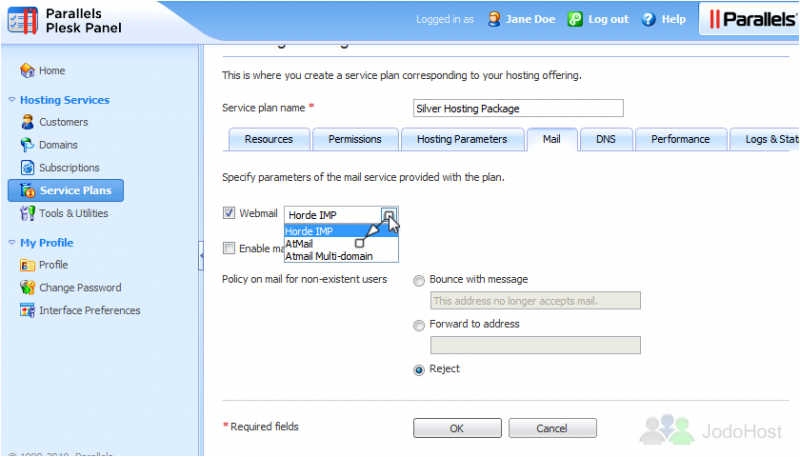
15) Check this box to turn on the mailing list service.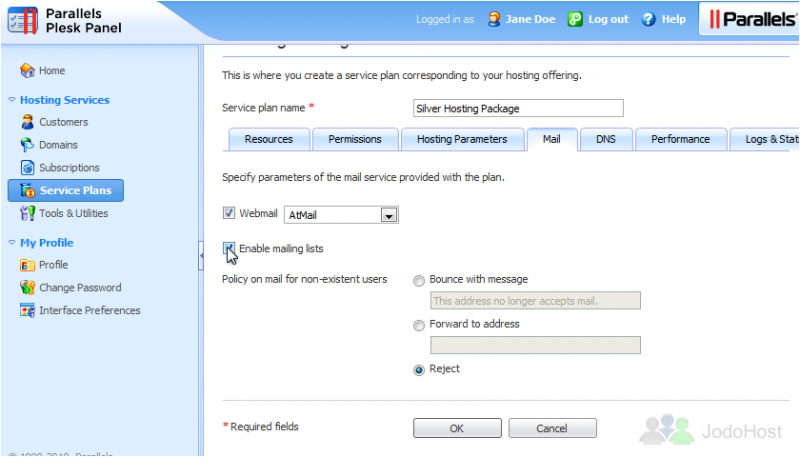
16) Set the policy for mail received for non-existent users.
17) Specify how the DNS service running on the server will serve DNS zones for websites hosted on the plan.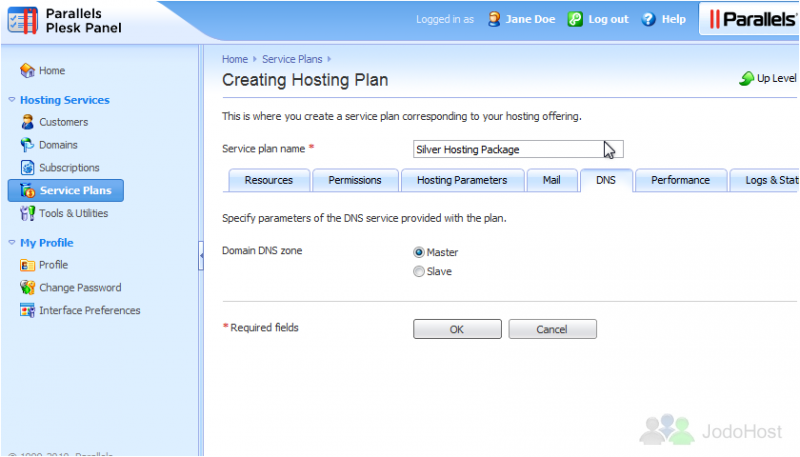
18) Go to Performance. The first option defines the maximum speed that a domain can share between all its connections. The second defines the maximum number of simultaneous connections to the web server.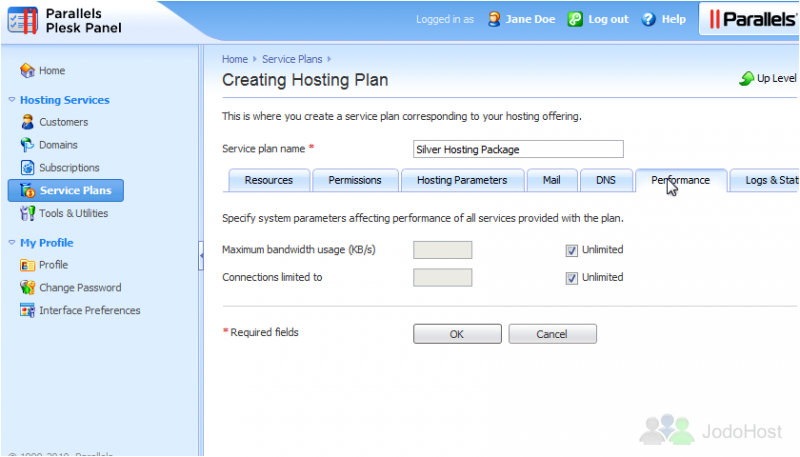
19) Manage Logs & Statistics settings on the last tab. Set the traffic statistics and log rotation settings.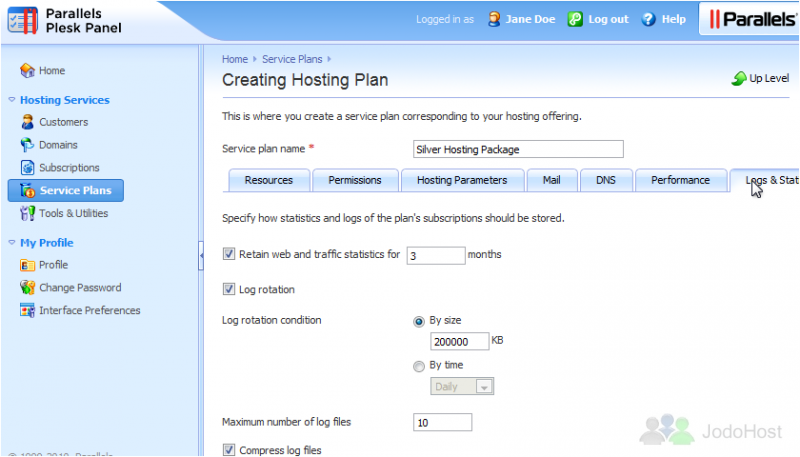
20) Click OK to create the new plan.
That's it! The new service plan has been created.
21) To change any of the plan options you've just seen, click a plan's name. To view a list of all Subscripions using certain plans, use these links. To remove one or more plans, click the checkboxes next to the plans and then click the Remove link here.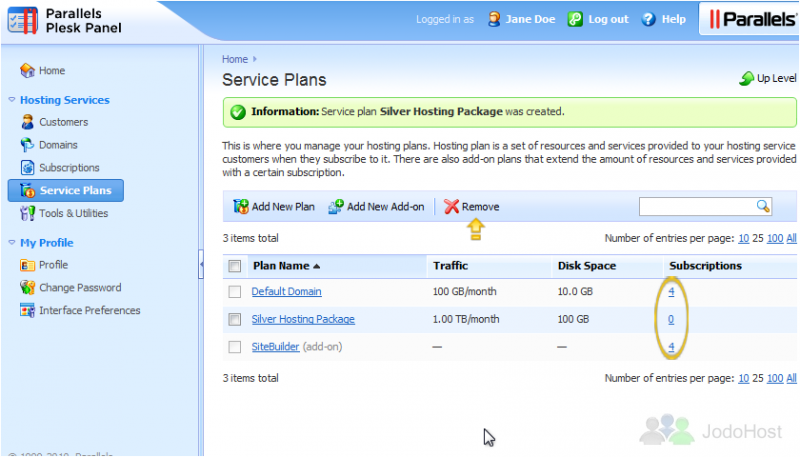
This is the end of the tutorial. You now know how to create and manage Service Plans in Plesk.