Parallels Plesk Panel 10 admin series
2. Getting Started with Parallels Plesk Panel 10
Welcome to Parallels Plesk Panel 10. This version of Plesk provides you and your customers with a streamlined user interface, many improvements, and many powerful new features.
One thing you'll quickly realize is that all hosting-related functionality has been removed from your control panel. Plesk 10 is split up into two separate panels: the Server Administration Panel, which is devoted to administrator and reseller server and account operations, and the Control Panel, which focuses on hosting management. Whenever you want to do something with a customer's account beyond what's in the Administration Panel, you will need to access the customer's Control Panel.
1) Let's take a look around the Administration Panel. This is the home screen, which contains two boxes. The System Overview box lists all your Resellers, Customers, Service Plans, and Subscriptions, with links to add new ones and see who's exceeding their limits. Server Health lets you see at a glance the health of the five main system resources -- Services, Disk, Memory, CPU, and Network.
2) The quickest way to find your way around from anywhere in the Panel is via the menu. Let's check out the Hosting Services section, starting with Customers. This is where you manage customer accounts: create new accounts along with service subscriptions, manage existing customers, and remove accounts.
One of the most important changes in Plesk 10 is that hosting services have been restructured. Instead of clients, you now have Customers. Customer accounts never expire and don't actually provide any hosting services by themselves.
When a Customer signs up for a hosting plan, a new Subscription is added to his/her account. Subscriptions are what actually provide hosting services to your customers.
3) To manage Subscriptions, click this link.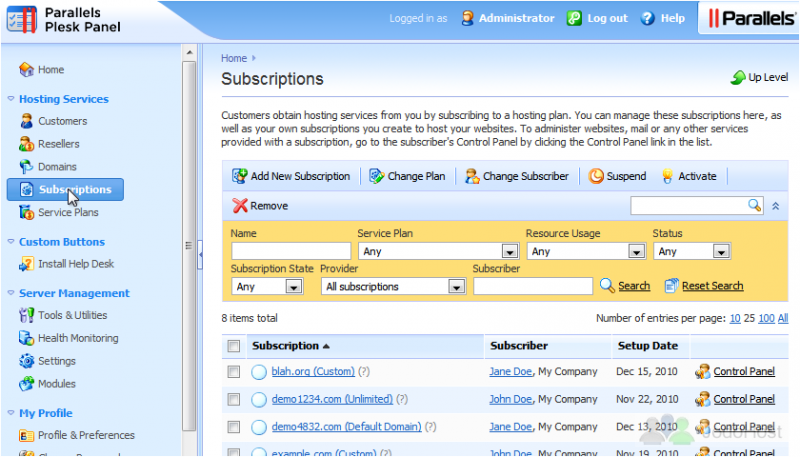
Here you'll find a list of all the subscriptions on the server: your customers' and resellers' subscriptions as well as your own.
Another change in Plesk 10 is that hosting templates have been replaced with Service Plans. Whenever you create a new subscription, you're given the choice between creating the subscription manually (using no plan) or assigning it a plan.
4) Service Plans can be managed here.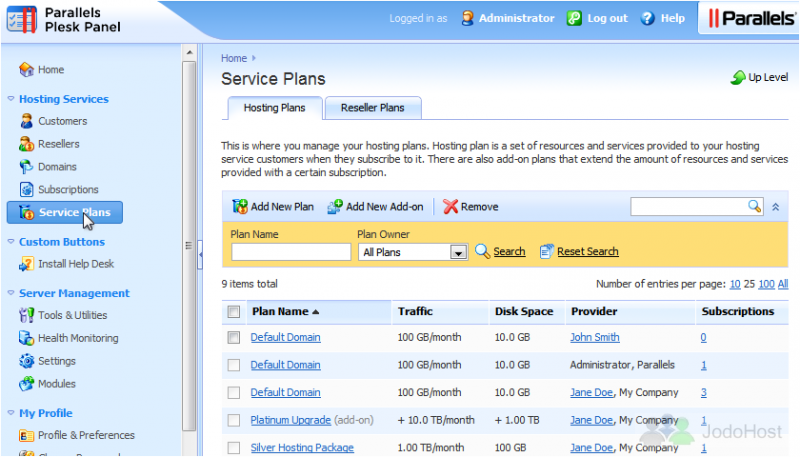
If a subscription uses a certain plan, any future changes to that plan will automatically be applied to the subscription. This is known as synchronization. If you ever make customizations to a subscription, it will be locked from synchronization and no plan changes will affect the subscription unless it is unlocked.
Similar to Service Plans, Add-on Plans can also be assigned to subscriptions, giving them additional features above and beyond what already comes with a subscription's Service Plan.
5) Now we'll take a look at the Domains page. This page gives you a list of all the domains in the system, their setup dates, associated subscriptions & subscribers, and a link to their corresponding Control Panels.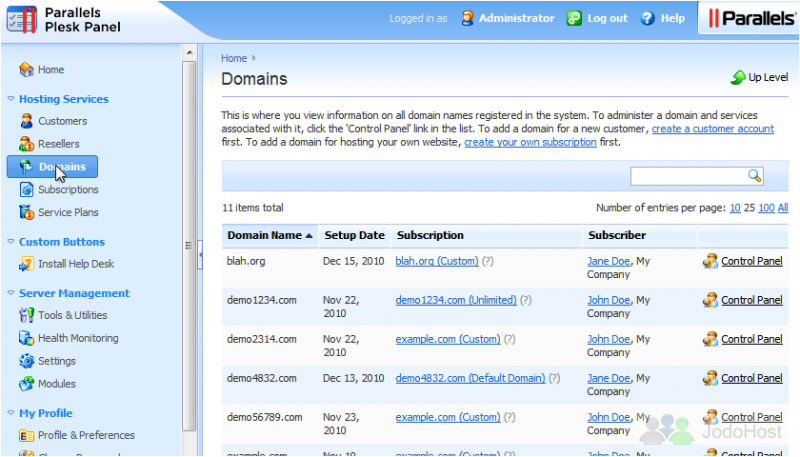
You can't actually do anything with the domains directly from this page; if, for example, you wanted to delete a domain from someone's subscription, you'd need to access their Control Panel first.
6) Finally, let's check out the Resellers page. Resellers are like limited administrator accounts. They can manage customers and subscriptions, but they can't access any of the server's admin features or create other resellers.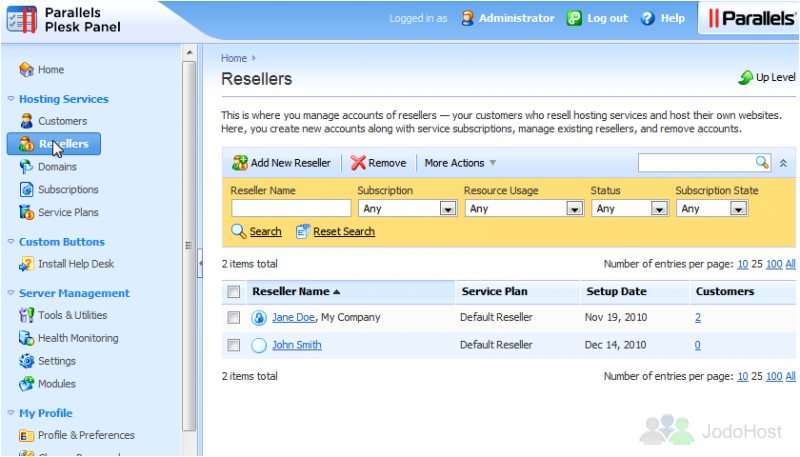
Like Customer accounts, Reseller accounts subscribe to your services. Resellers, however, can only be subscribed to one Reseller Plan at a time.
7) To manage Reseller Plans, you would also go to Service Plans.
8) This time, open up the Reseller Plans tab. Similar to Hosting Plans, Reseller Plans place limits on what your resellers can do and the resources they (and their customers) can use.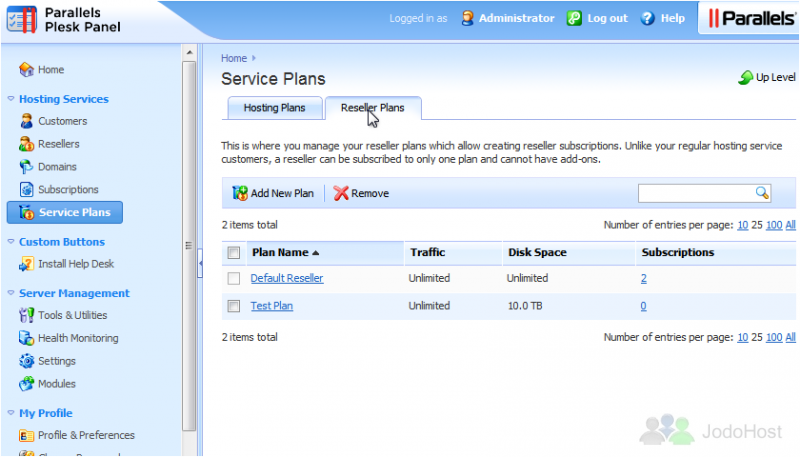
9) We've finished looking through the Hosting Services menu section. Now let's take a quick look at Server Management, starting with Tools & Utilities. This is where you manage the server, configure the Panel, system services, and resources. Manage the system's IP addresses and database servers, upload new applications, customize the Virtual Host Template, and much more.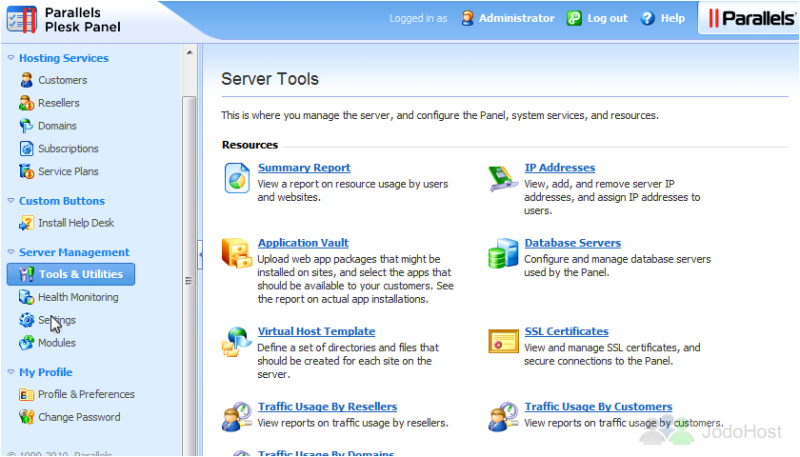
10) Next is Health Monitoring. A new feature in Plesk 10 is Health Monitoring. This is designed to simplify server troubleshooting and let you configure alarm thresholds for automatic notification. This is the detailed version of the Server Health box that's on the home page.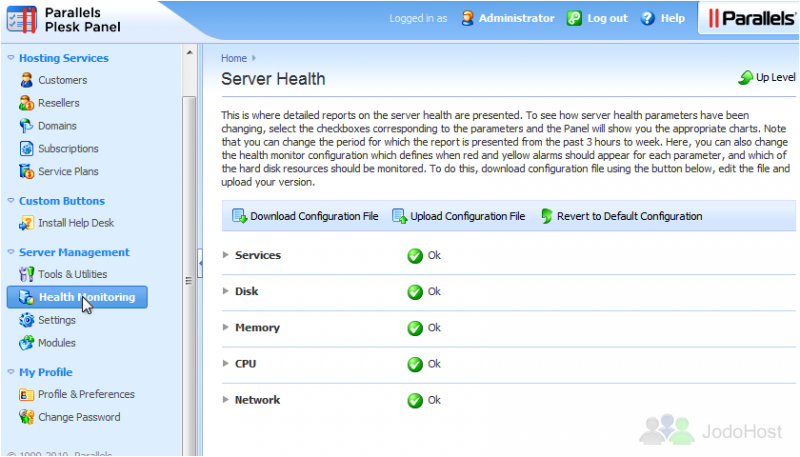
11) The last area of the Admin panel we'll cover is Settings. Similiar to Tools & Utilities, the Settings page is where you configure the global settings related to hosting services, security, and Panel branding. Here is where you'd go to change the server's hostname, system time, DNS Templates, mail settings, etc.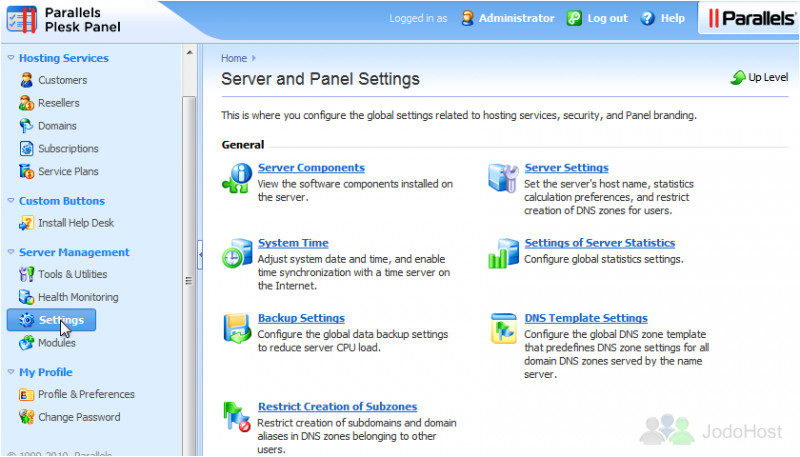
Now you've seen all the most important parts of the Plesk 10 Administration Panel. Let's take a quick look at the Control Panel your Customers will use.
12) Go to Subscriptions. Use the Control Panel link next to any subscription to access its Panel.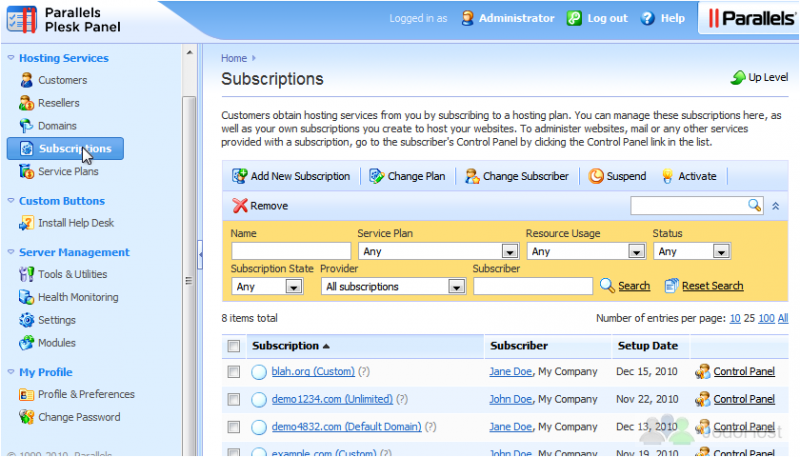
As you can see, the Plesk 10 Control Panel for end-users has a much simpler design than in Plesk 9, but it's still just as powerful.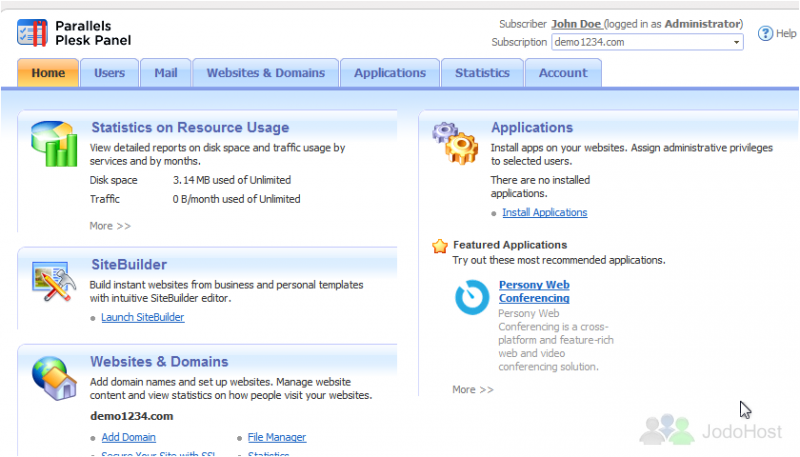
For assistance using the Control Panel, you may want to watch the tutorials in the end-user and reseller series.
Now that you've seen all the main areas of Plesk, be sure to check out the tutorials that follow if you ever need help performing more-specific tasks in Plesk.