Parallels Plesk Panel 10 admin series
5. How to manage IP addresses in Plesk
1) To manage IP addresses, go to Tools & Utilities. And then IP Addresses.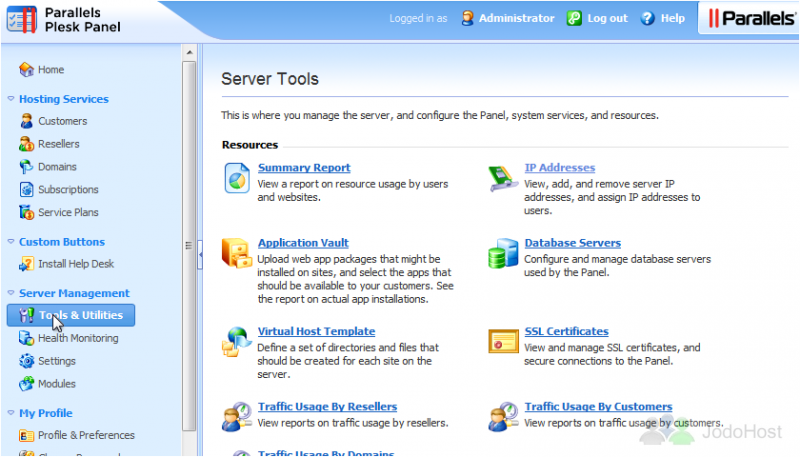
2) Here you can add IP addresses, remove them, switch them between Shared and Dedicated, and set their default SSL certificates and domains. If you're running Plesk on a VPS, many of the IP management features will be disabled. This is a limitation of VPSes in general. Let's change this Exclusive (or Dedicated) IP into a Shared IP. It's as simple as clicking the icon that looks like a crown. 
3) We'll change it back by clicking the hand icon. Note that you can only do this if no Resellers or Domains are using the IP.
4) Let's assign this dedicated IP to a reseller, which will allow them to use it or give it to one of their customers. Click an IP address to view more options.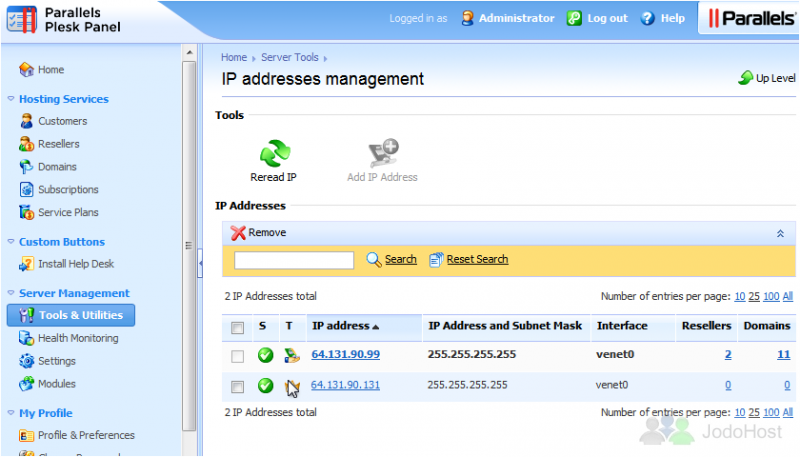
5) Click Assign.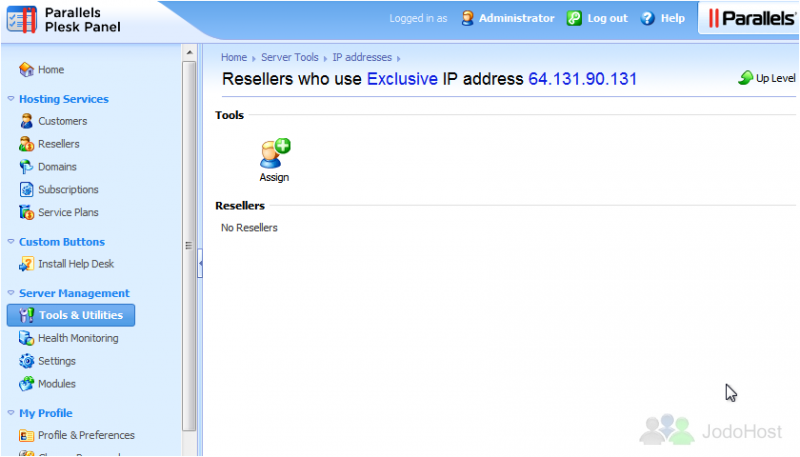
6) Choose a Reseller from the list, then click OK.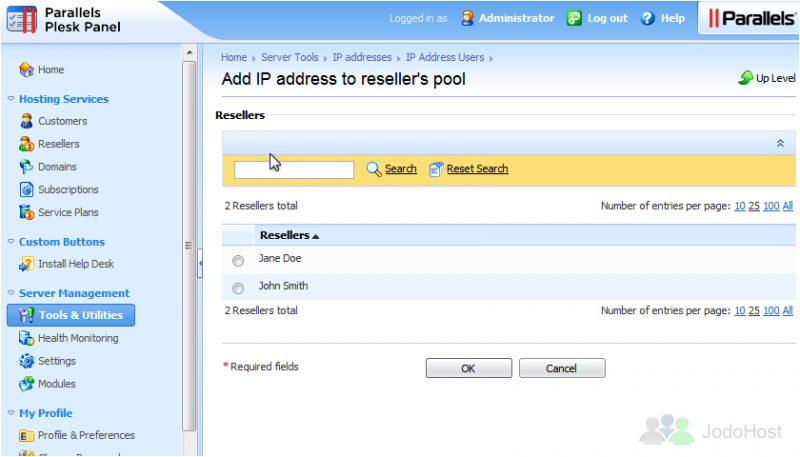
7) To deassign this IP address from this reseller, click the checkbox, then click Deassign.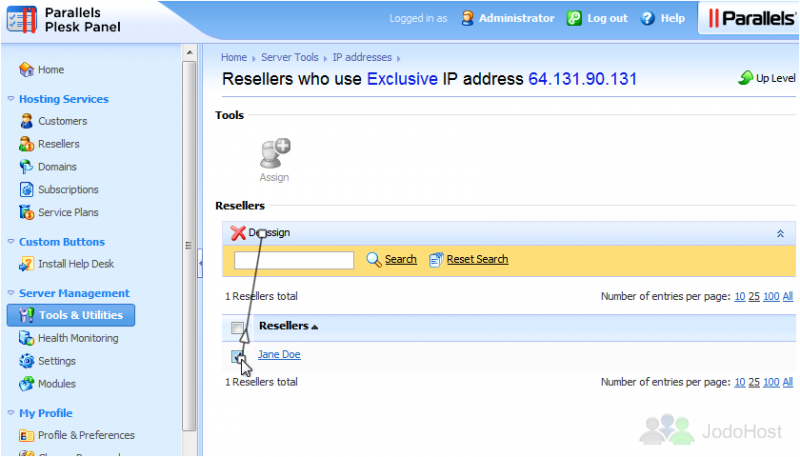
8) Confirm the removal.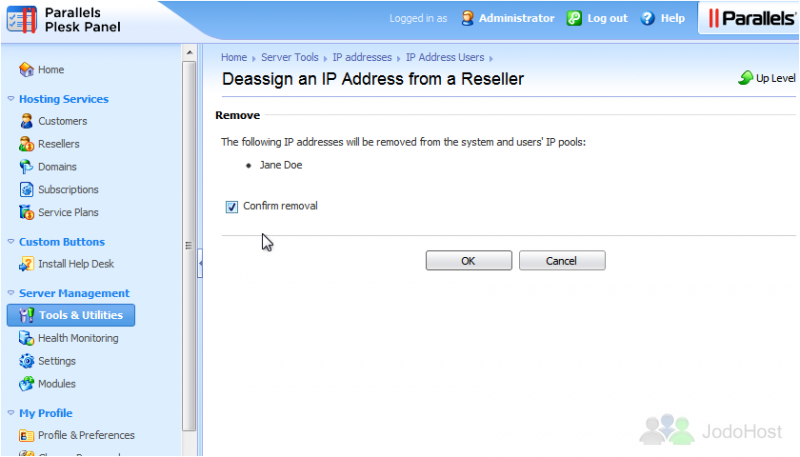
9) Let's return to the IP Addresses page. The last thing we'll see is how to assign a default domain. Click the link under Domains.
10) To assign one of the domains that uses this IP address as its default domain, select the domain...
11) ...Then click Set as Default.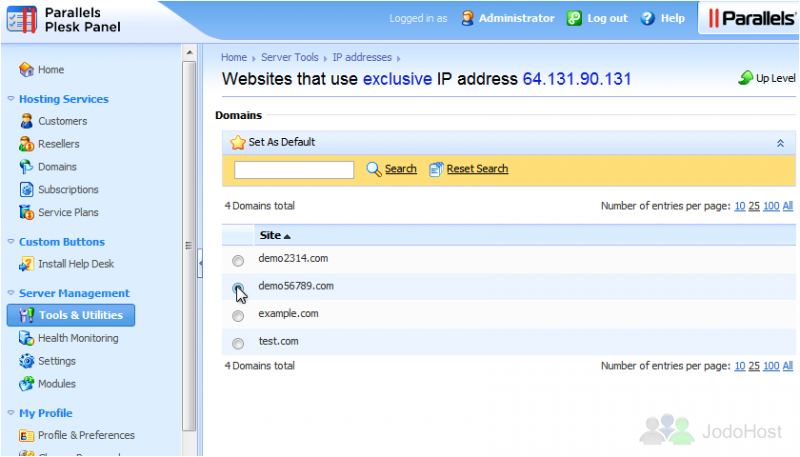
The domain we selected is now the default for this IP. This means whenever someone accesses the IP, that's the website they'll see.
This is the end of the tutorial. You now know all about managing IP addresses in Plesk.