Parallels Plesk Panel 10 admin series
7. How to configure and manage Database Servers in Plesk
Plesk allows you to add additional Database servers for use by you and your customers.
1) Go to Tools & Utilities, then Database Servers.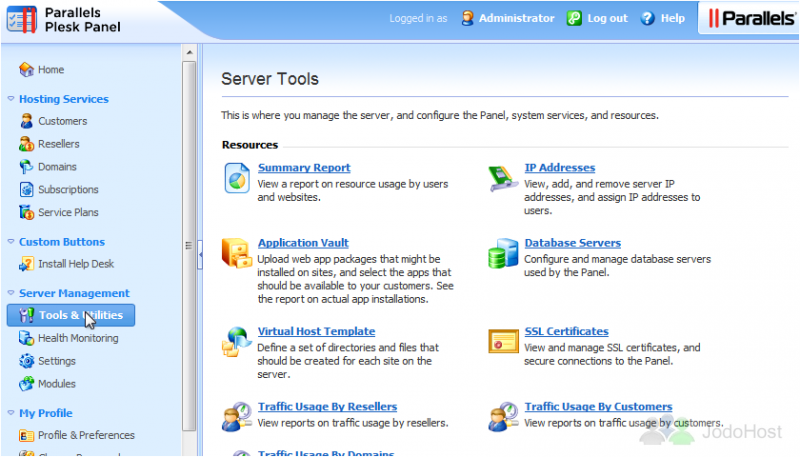
2) First, let's take a look at Settings.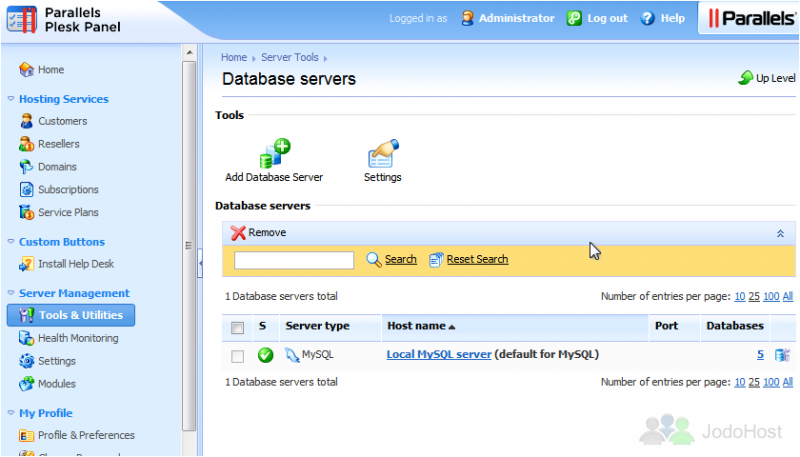
3) These settings affect the databases Plesk creates on any of your database servers. Add a username and an underscore to the beginning of database names and database user names. Allow or prohibit installation of web applications that do not support remote databases. Make any desired changes, then click OK.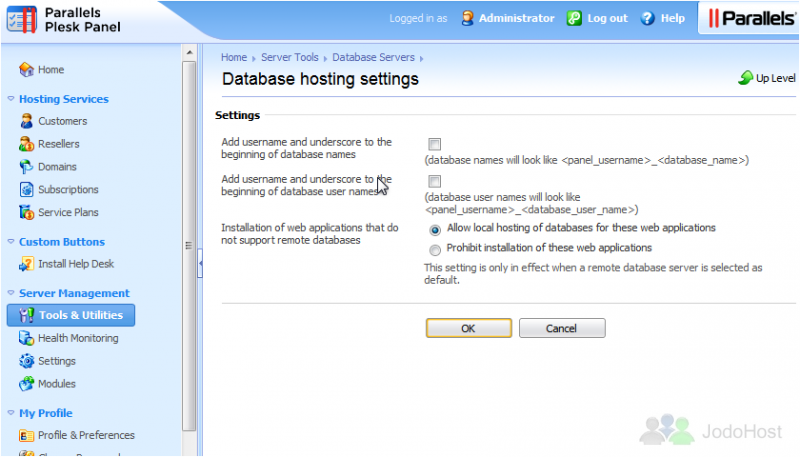
4) Click a server's host name to view or edit its information.
5) To view a list of the databases on this server, click the Databases tab.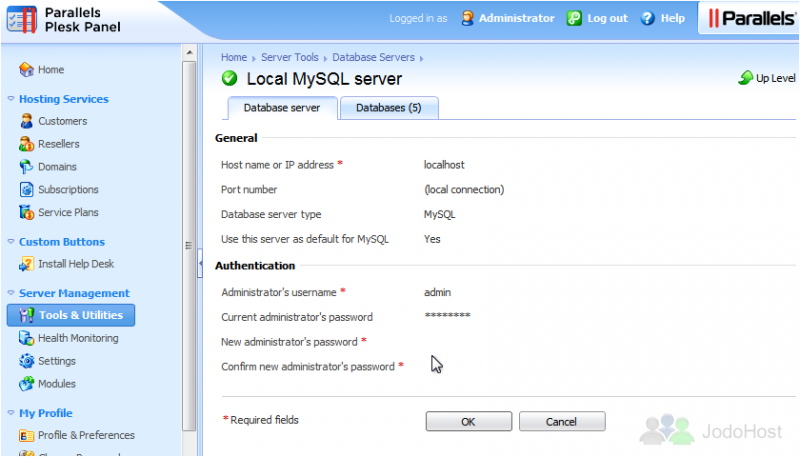
6) Let's return to the Database Servers page. Now we'll show you how to add a database server. Click the Add Database Server icon.
7) Enter the server's hostname or IP address.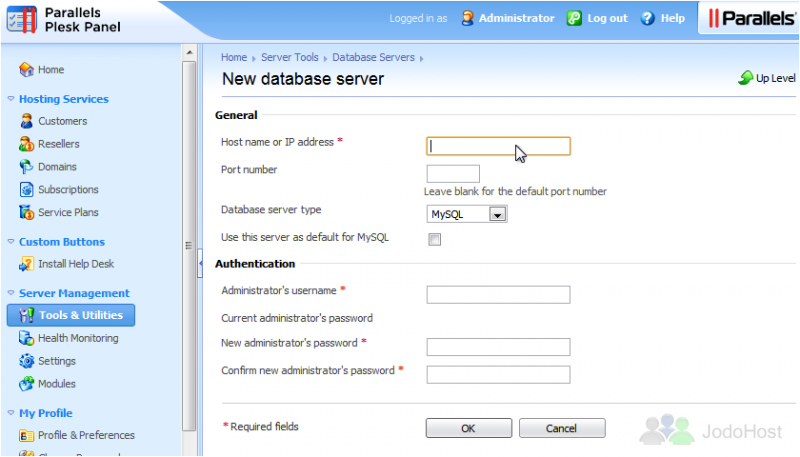
8) Enter the port number, or leave that blank for the default port number.
9) Choose the Database server type.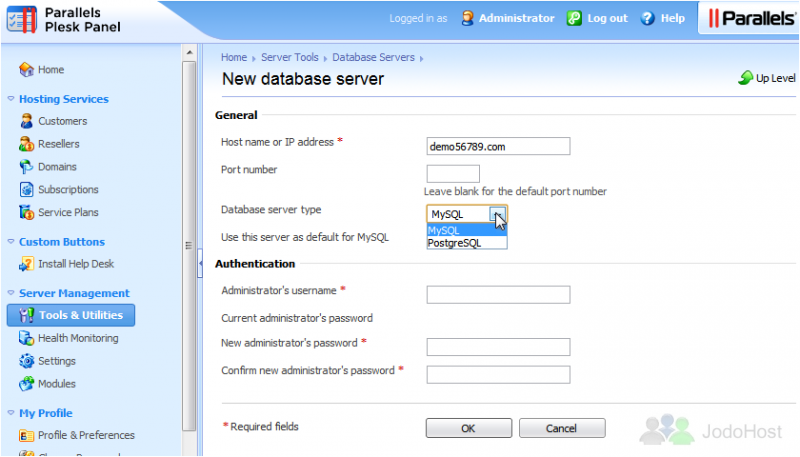
We'll leave this set to MySQL.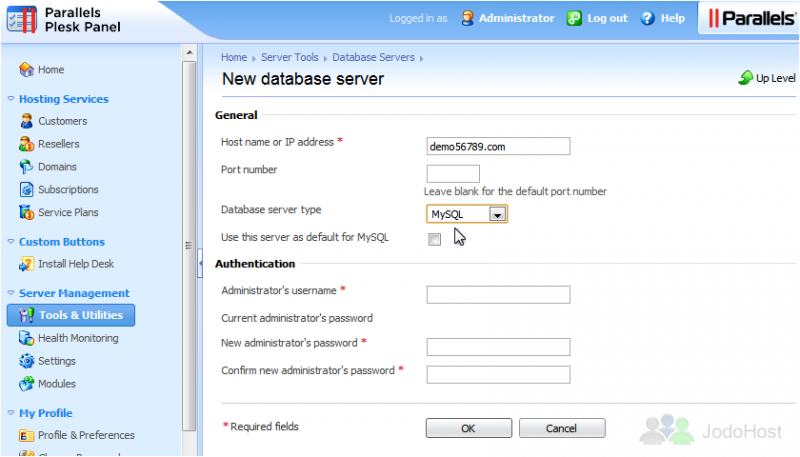
10) Now, enter the authentication credentials for an Administrator account on the server. First, the username.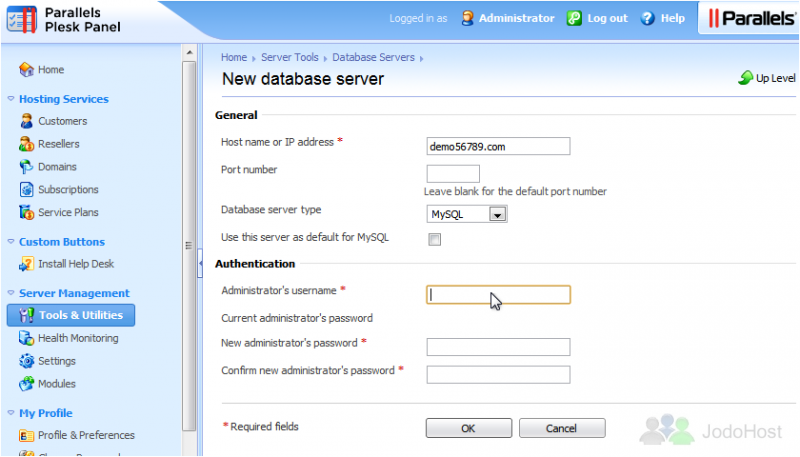
11) Then, type or paste the password.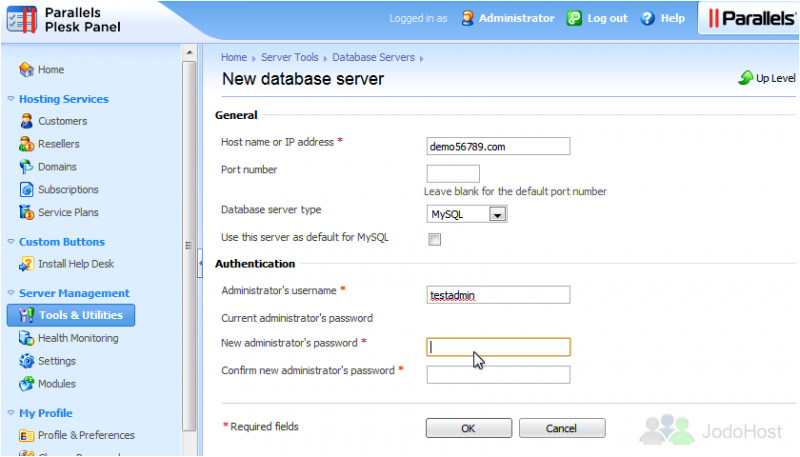
12) Click OK.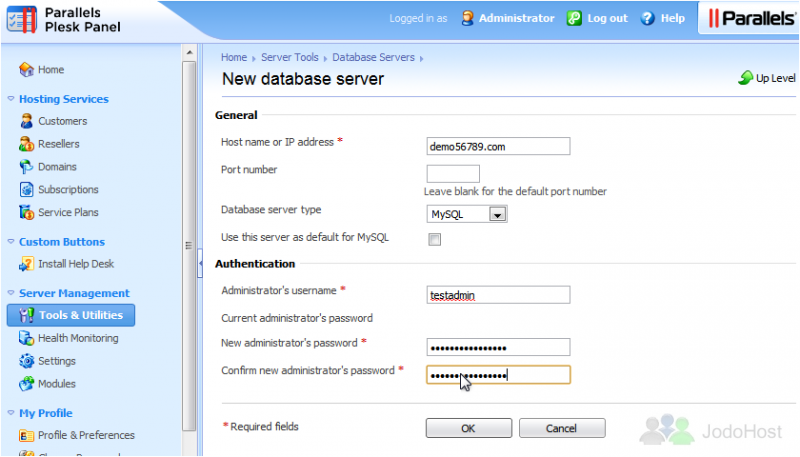
The new database server has been set up successfully and is ready to be used.
13) To delete a server, click its checkbox. Then click Remove.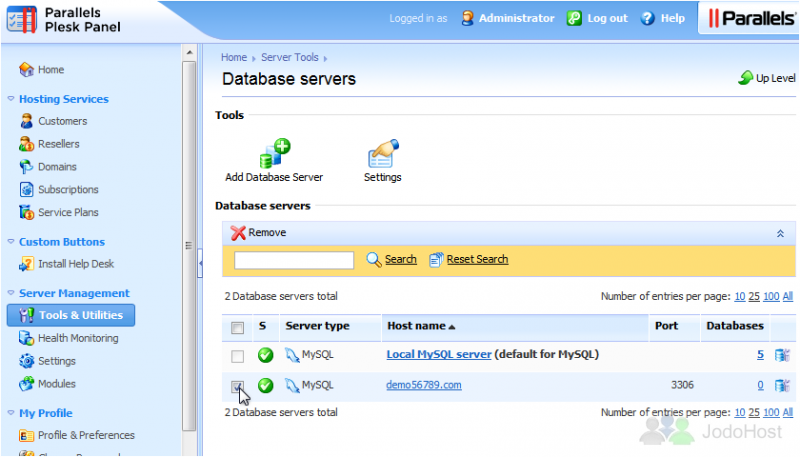
14) Confirm the removal, then click OK.
That's it! You now know how to configure and manage database servers in Plesk.