|
Starting with version 2.5, H-Sphere allows you to host your sites on dedicated servers. When you first sign up
with a dedicated server plan, pick up a dedicated server from available templates or sign up without a
server. Order a custom-built server or add a templated one right from your cp later. In the same way you
can send requests for extra IPs, server upgrade, remote reboot and cancellation, as well as set up regular backup
service.
Adding Dedicated Servers
You can add a dedicated server from DS templates provided by your admin
or send request for a custom-built server.
Creating dedicated servers from templates
To add a dedicated server from a template:
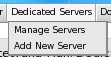
- Go to Dedicated Servers/Add New Server menu in your Control Panel:
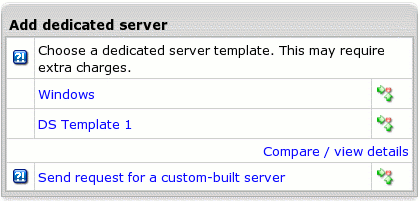
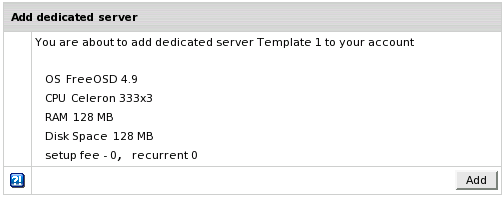
- On the list of available server templates, click the one you need to see its details:
- If you are satisfied with the server settings, click Add.
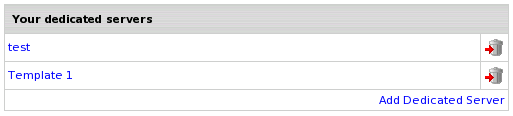
- The server will appear on the Manage servers page.
Ordering a custom-built dedicated server
You can order a custom-built dedicated server by simply clicking a link only if this option is enabled
by your hosting provider. Sending request for a custom-built server will issue a trouble ticket to the admin.
Then you will get an e-mail with login, password, URL and IP for a new dedicated server.
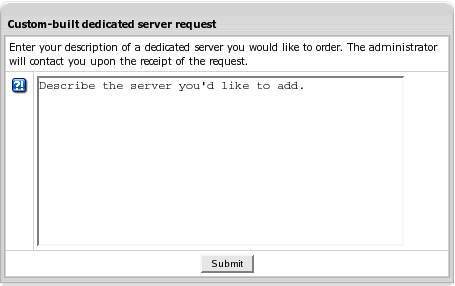
To order a custom-built dedicated server:
- Select Send request for a custom-built server in Dedicated Servers/Add new Server menu.
- On the page that appears, describe the server you'd like to add and click Submit.
Alternatively, you can simply send a trouble ticket to admin asking him
about a custom-built server.
Managing Dedicated Servers
In the Dedicated Servers menu choose Manage Servers:
Here you will see the list of your dedicated servers.
Click a dedicated server name to proceed to the server manage form.
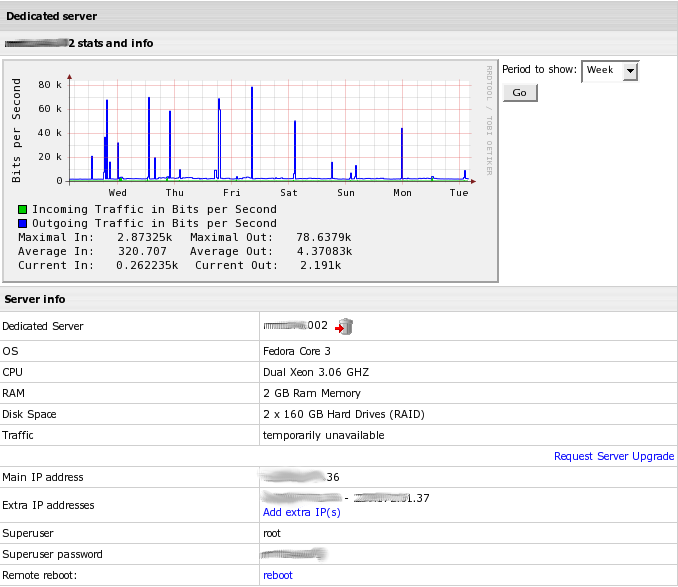
Viewing Server Info
This form provides information about dedicated server parameters and traffic statistics along with DS controls:
Note: You are not able to automatically manage dedicated servers. Instead, H-Sphere sends internal tickets to
the admin, and the admin in turn carries out your requests manually.
Requesting server upgrade
- Go to the Dedicated Servers/Manage Servers menu
- Choose the server you want to upgrade
- On the page that appears, click the Request Server Upgrade link.
You will see the templates with available dedicated servers.
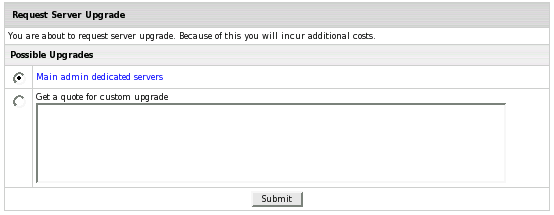
- You may select the Get a quote for custom upgrade option and manually fill out custom server configuration.
Or, you may choose from the list of available templates (to view server details, click a template name):
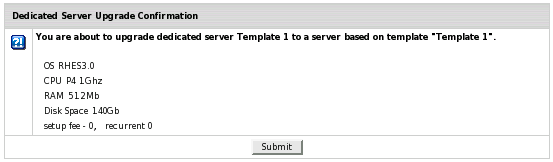
- After you click Submit, your request will be sent to the H-Sphere admin. You will be notified about
a charge for this upgrade.
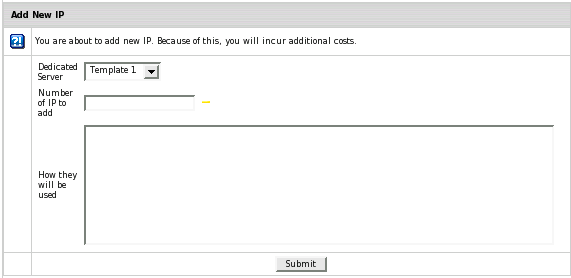
Adding extra IPs
You receive a server with only one IP address. If it is allowed by the plan you signed up with, you can always send requests
for additional IPs from your cp. To send a request for an extra range of IPs:
- Go to the Dedicated Servers/Manage Servers menu
- Choose the server you want to add IPs to
- On the next page, click Add Extra IP(s)
- Fill in the number of IPs you want to add.
Creating Reverse DNS Records for IPs (H-Sphere 2.5.1 and up)
Once an additional IP range is assigned to your server, you need to create reverse DNS records (aka PTR records) for each IP from
this range. This is necessary for IPs not to be blocked by some e-mail internet servers which reject mail from IPs without such
records.
To create revers DNS record for an IP:
- Go to the Dedicated Servers/Manage Servers menu
- Choose the server the IP belongs to
- Click Edit near the necessary IP range in the Extra IP addresses field
- Click the green arrow opposite to the IP:

- Type in domain name for this IP and click Submit:
- The newly added record will appear on the Edit IP range page.
Important: Setting up reverse DNS records is implemented only for class C network IPs.
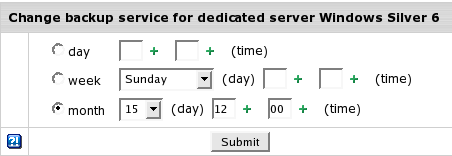
Setting up backup service
You can request regular backup for your dedicated server:
- Go to the Dedicated Servers/Manage Servers menu
- Choose the server you want to setup backup service for
- On the page that appears, click on the icon in the Backup Services section
- Choose a preferrable option and press Submit. Then agree to be billed for the service. Your request will be sent to and
managed by the admin.
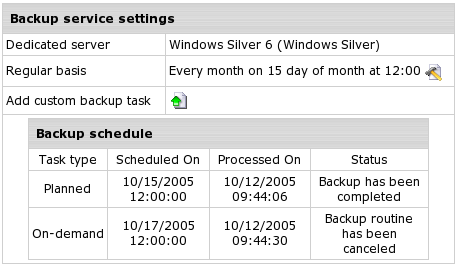
- After that, you will see the scheduled task on the Backup service settings page (to enter this page, press
Edit for Backup services on the Dedicated server page):
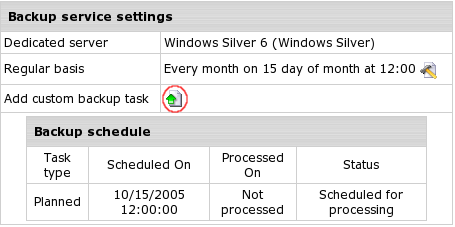
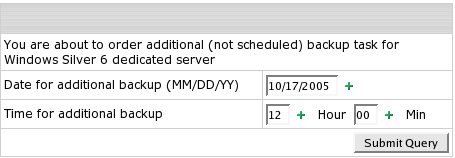
- Now that you've configured scheduled backups, you can request a custom task. For that, use the Add button (see the
above screenshot) and set time for additional backup:
- When the admin has processed (completed or cancelled) backups of your server, you can see that on the Backup service
settings page:
Requesting remote reboot
To request remote reboot:
- Go to the Dedicated Servers/Manage Servers menu
- Choose the server you want to request remote reboot for
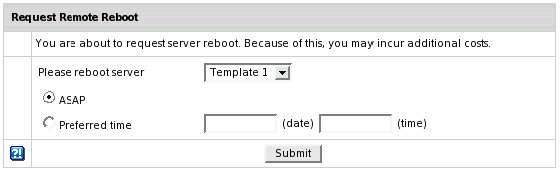
- On the next page, click on the reboot in the Remote Reboot section
- Choose a preferrable option and press Submit to send the request to the admin. This will issue a trouble ticket
to the admin with your reboot request.
Dedicated Server Cancellation
To cancel dedicated server:
- Go to the Dedicated Servers/Manage Servers menu
- Click the Delete icon next to the server name you want to cancel
- Fill in the page with necessary information and click Submit.
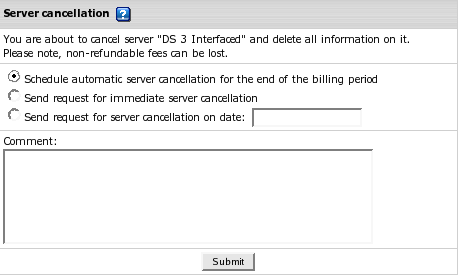
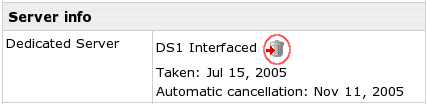
- Schedule automatic server cancellation for the end of the billing period - server will be
automatically withdrawn from your account the day before the end of the billing period. After you choose this option, you can
see the automatic cancellation date when viewing the server info:
Click the Cancel Server icon again if you've changed your billing period and want your server to be cancelled accordingly,
or if you want to send request for earlier cancellation.
- Send request for immediate server cancellation, Send request for server cancellation on date - troulbe tickets
with these request will be issued to your upstream provider.
Important: If you choose to cancel a server automatically and then change your mind to continue
using it, inform the administrator about this ASAP. It is only the admin who is empowered to discard or postpone automatic
cancellation of dedicated servers.
|
 in H-Sphere 2.5.1)