OPSPI is your hosting dashboard for managing domains, websites, email, databases, and SSL certificates. This guide walks you through the essential steps to get your website online.
Add Your Domain
From OPSPI, add the domain you want to host and select the services you need.
- Website - Host your website files
- Email - Create business email addresses
- Database - MySQL or MSSQL databases
- FTP/SFTP - File transfer access
OPSPI automatically starts provisioning the selected services.
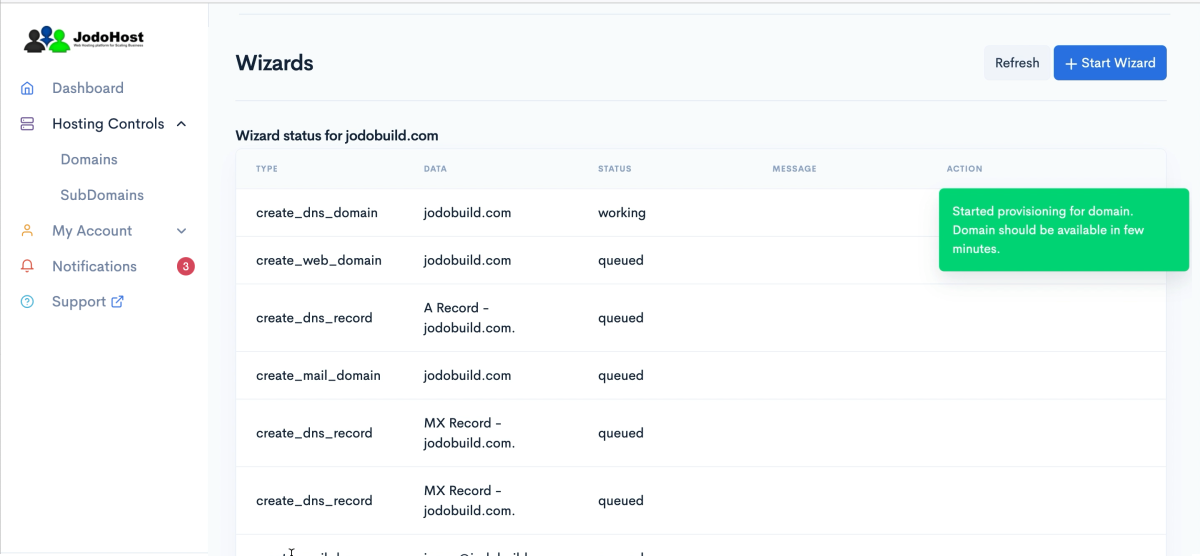
Wait for Provisioning
Website, DNS, email and database resources may take a few minutes to be created.
Once provisioning is complete, open your domain in OPSPI to view and manage the resources associated with it.
Configure DNS
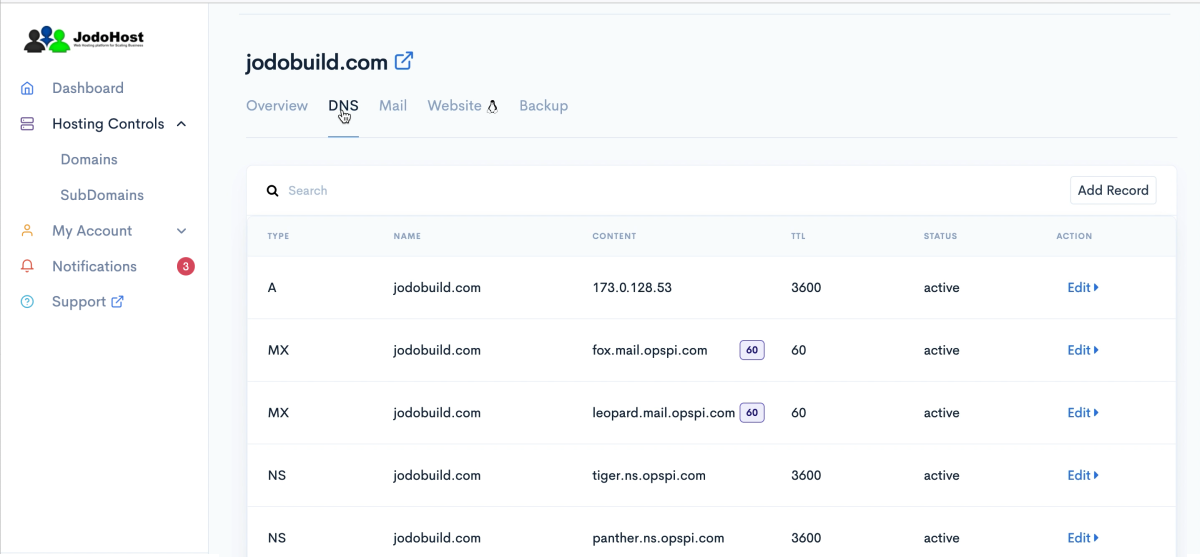
Open DNS settings for your domain in OPSPI. You have two options:
Option 1: Use JodoHost Nameservers (Recommended)
First, view your domain's DNS settings in OPSPI to see the assigned JodoHost nameservers:
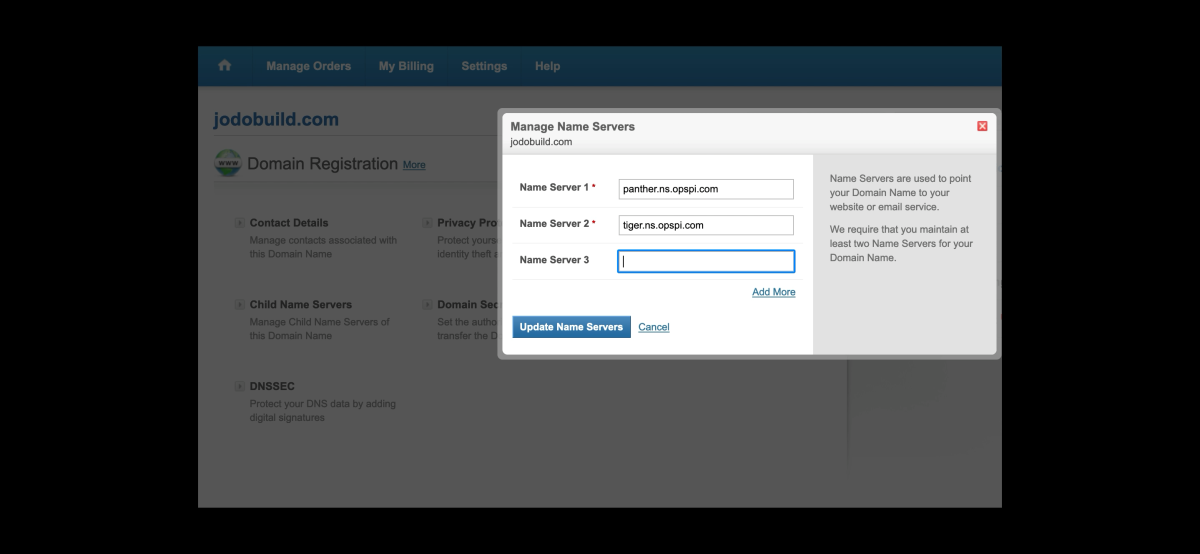
Then, go to your domain registrar and update the nameservers to use the JodoHost nameservers shown in OPSPI:
Option 2: Use DNS Records (Advanced)
If you prefer to keep your existing nameservers, you can point your domain to JodoHost by adding DNS records (A records, CNAME, MX records) manually at your current DNS provider.
Upload Your Website
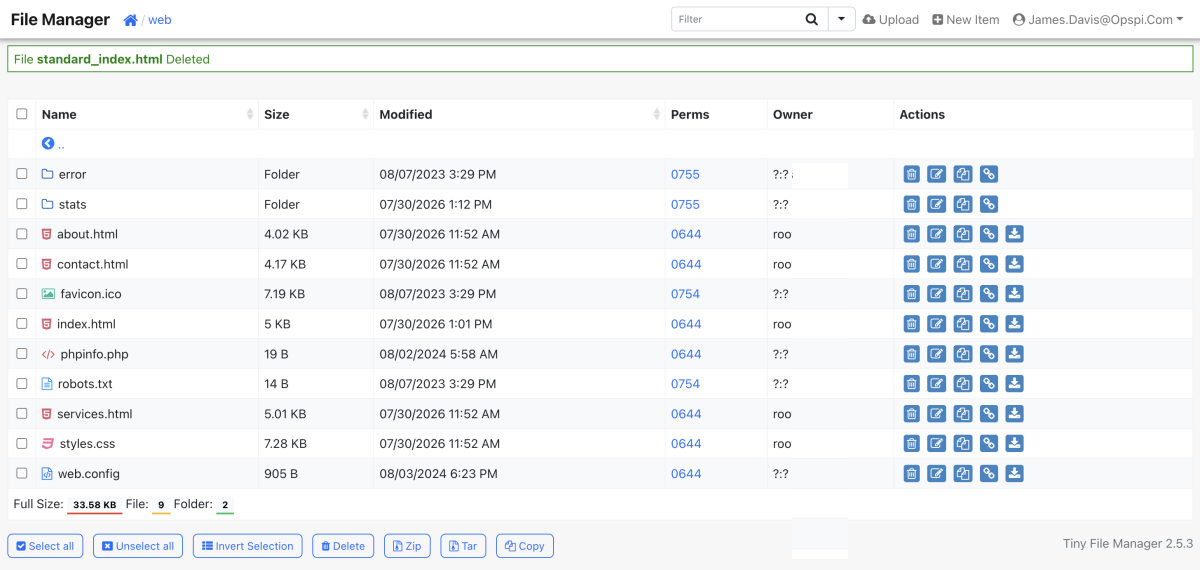
Upload your website using:
- SFTP/FTP - Using the account created in OPSPI
- File Manager - Directly from the OPSPI dashboard
If your website requires a database, create and manage the database and database user from the domain's website settings.
Don't have a website yet?
From your domain dashboard click Install WordPress
OPSPI automatically:
- Creates and configures WordPress
- Uses your existing hosting account
- Configures the database
- Deploys the latest WordPress using WP-CLI
- Provides a direct WordPress Admin link
No separate installer or control panel required.

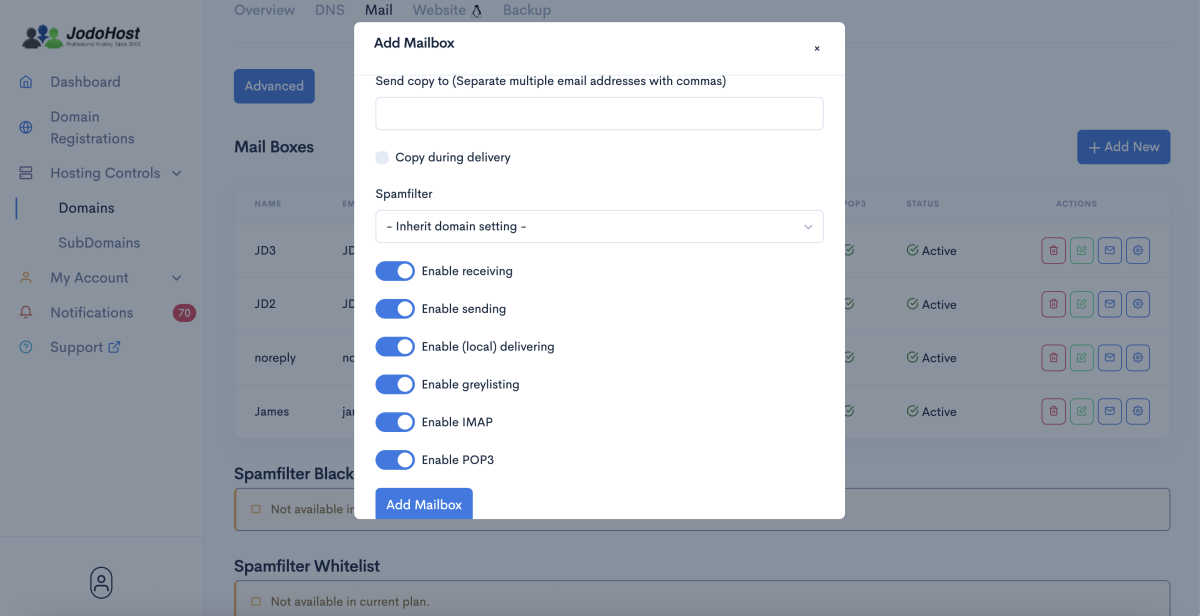
Create Email Accounts
Create the email addresses you need from the domain's Email section.
OPSPI handles the required mail service configuration when you're using JodoHost DNS.
[email protected] or [email protected] for your business.
Enable SSL
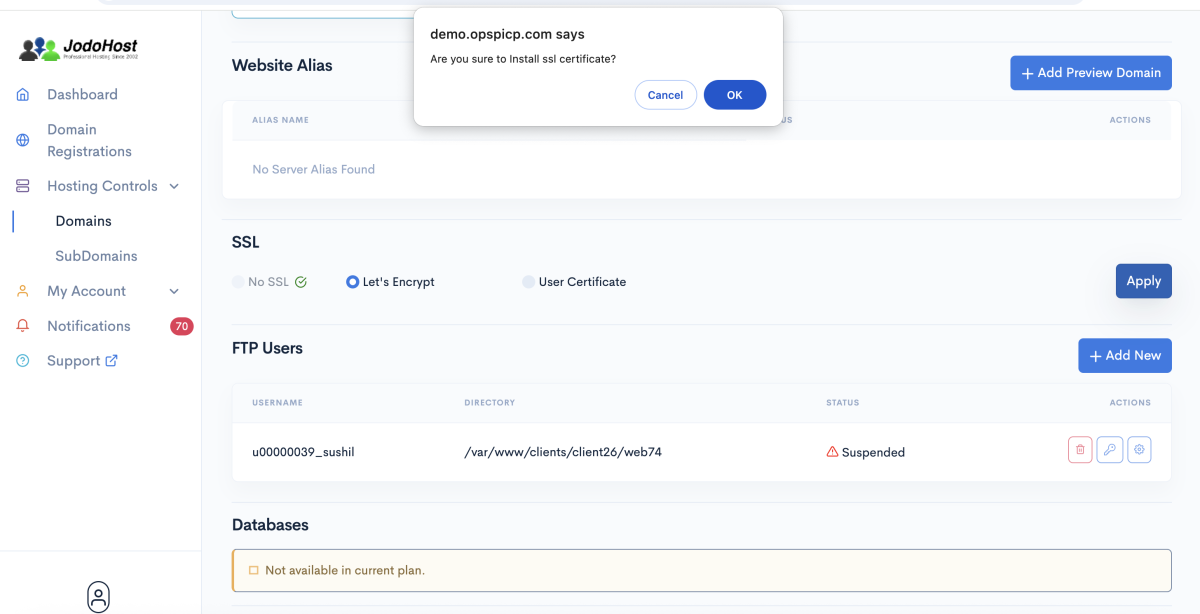
Once your domain resolves to JodoHost, open the website settings and enable SSL.
Before SSL:

Enable SSL in OPSPI:
After SSL:

Your website is now ready at: https://yourdomain.com
You're All Set!
Your website is now live and secure. You can manage all your hosting services directly from the OPSPI dashboard.