2 - DNS Zone
Step 1: Create a DNS Zone
In your Administrative Account, click on "E.Manager" from top navigation menu and select "DNS Manager"

To the right, you'll see the DNS Manager:

Click on "Add DNS Zone". You'll then see a screen like this:
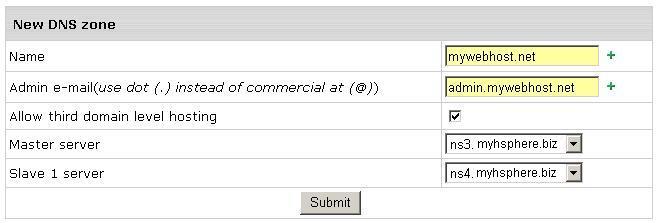
Fill in your DNS zone details:
Name - must be the host name of your new DNS zone. If mywebhost.net is your hosting company site and you want ns1.mywebhost.net and ns2.mywebhost.net to be your name servers, enter mywebhost.net as your DNS host name here. You can however put in any registered domain as your DNS host name. Some resellers prefer to put a host name different from there corporate site (such as mywebhostdns.net). It really makes no difference technically.
Admin Email - The admin email address for your DNS zone. Replace "@" with ".". If mywebhost.net is your DNS host name, enter webmaster.mywebhost.net or admin.mywebhost.net here
Master Server - Leave it as it is.
Slave 1 server - Leave it as it is
Once done, click on Submit to create your DNS zone
Step 2: Setting up Instant Domain Aliases
Instant Domain Aliases will allow your customers to access their website before their domain is actually pointing to your name servers. You need to set them up in order for customers to be able to use them. Once you have created your DNS Zone, you'll see a screen like this:
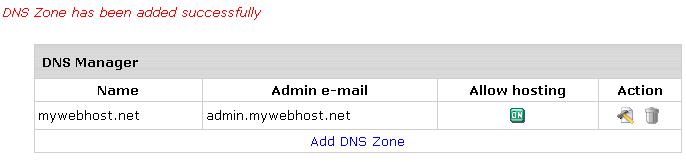
Click on "Edit" under "Action". You'll get a screen like this then:
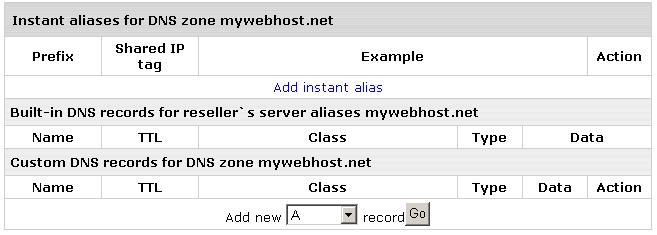
Click on "Add instant alias":
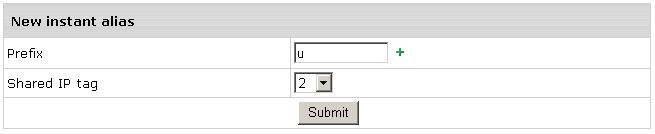
Prefix - Enter any letter
Shared IP Tag - leave as it is
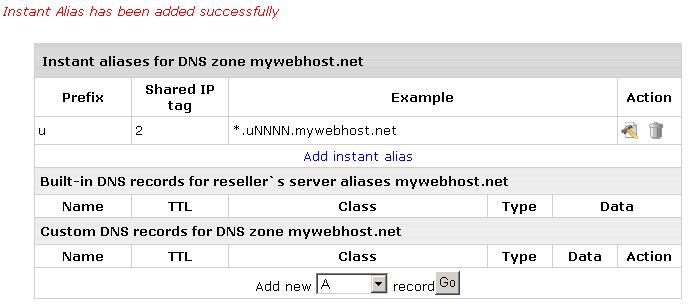
Press Submit. Once done, you'll see a screen as follows indicating Instant Aliases have been configured properly
Step 3: Creating your Name Servers
From the top navigation bar, click on "E.Manager" and select "Server Aliases"
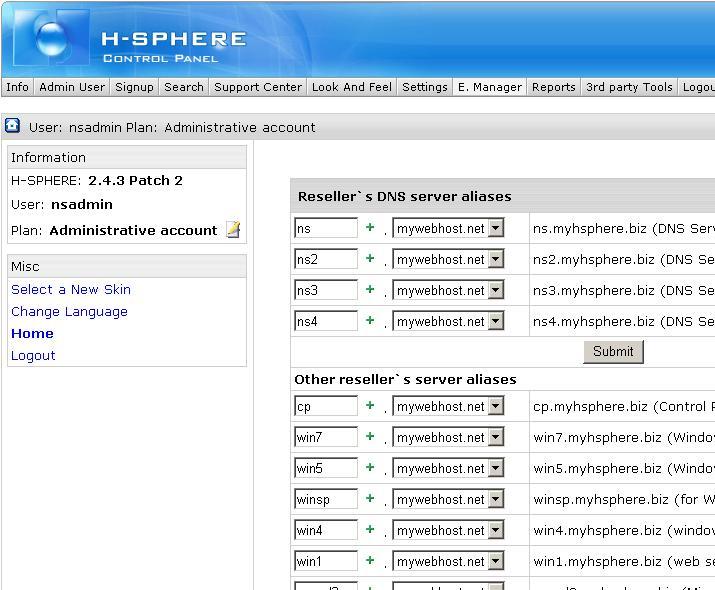
Under Reseller's DNS Server aliases, fill out the aliases you'd like for your nameservers. It's advisable to keep them the same
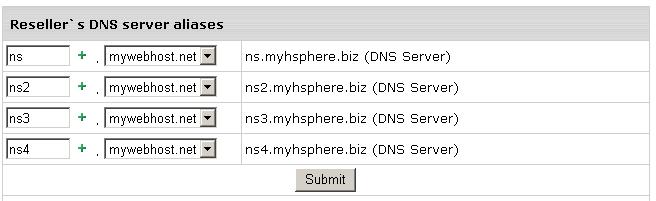
Once done, press "Submit". You'll see a screen like this then:
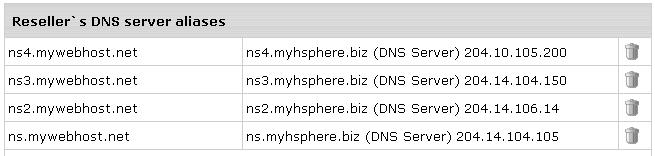
You'll notice that now you have been assigned IPs for your name servers.
Step 5: Create other Server Aliases
Once you have created your name servrers, move down to the Server aliases.
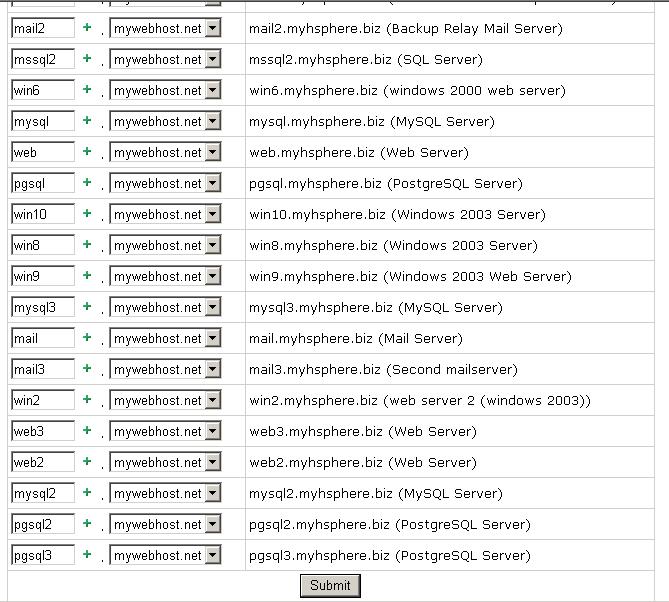
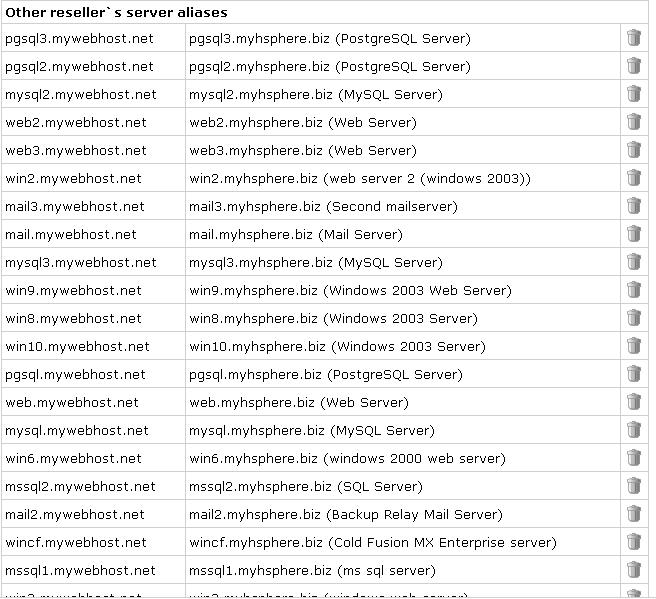
Click on "Submit". You'll see a screen like this then:
|