4 - Setting up Service Account
Step 1: Creating Service Account Plan
In order to host any website in your reseller account, you must first create a hosting plan/package and then have yourself or your customer signup for an account under that plan. For technical reasons, its recommend you create a separate hosting plan to host your corporate website and other related websites
From the Plans menu, select "Create" so that you see this screen:

Choose a Windows or Unix plan to host your corporate website. For this demostration, we will be creating a Windows plan:
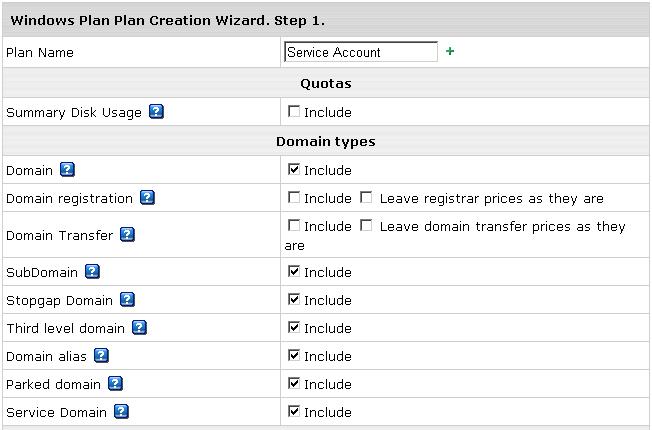
For Plan Name, fill in "Service Account". Some of the options are explained below -
Summar Disk Usage: Leave this unchecked. An explanation will be provided later
Domain Registration: Always leave unchecked, this featue is currently not supported
StopGap Domain: Allows you to create a random domain in the form of abcd.u12.mywebhost.net to host a temporary site if you don't own a domain
Third level Domain: Will allow you to host domains in the form anyname.mywebhost.net
Service Domain: Very important. Make sure this is checked. If mywebhost.net is the DNS Zone you setted up in step 2 & 3, this option will allow you to host a website for it. This option should only be selected on your Service Account plan which you are creating
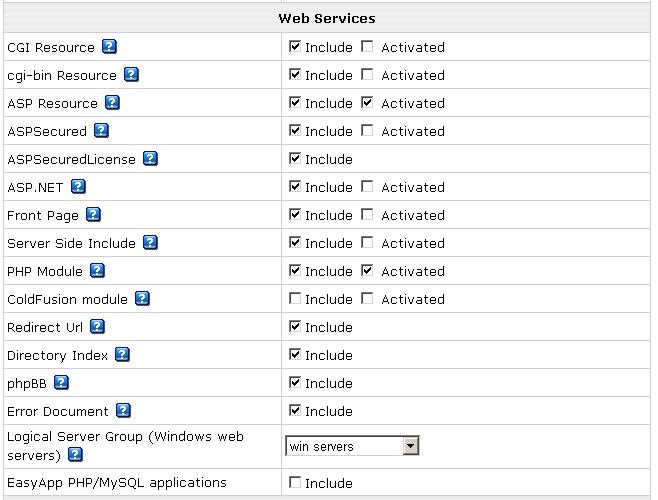
CGI & CGI-BIN resource: Allows you to host custom perl scripts
Front Page: Enables support for frontpage extensions
ASPSecured - A feature that allows you to secure ASP pages
Directory Index - Allows you to set alternate home pages for your website
phpBB - Free bulletin board software
Error Document - Allows you to specify custom 404 or 500 error pages
Logical Servers: From here you can select Win Servers or Cold Fusion Servers. If you select Win Servers, you MUST NOT enable/allow Cold Fusion on this Plan. If you select Cold Fusion Servers, you must NOT allow ASP &ASP.NET on this plan. This means that you cannot host ASP/ASP.NET & ColdFusion on one plan and must create separate plans for them. If you enable ColdFusion on a plan configured to Win Servers, you'll get an account creation error
EasyApp Applications: This is a feature that allows you to install 20+ PHP/MySQL scripts from the end-user CP. This feature cannot be used on Windows accounts
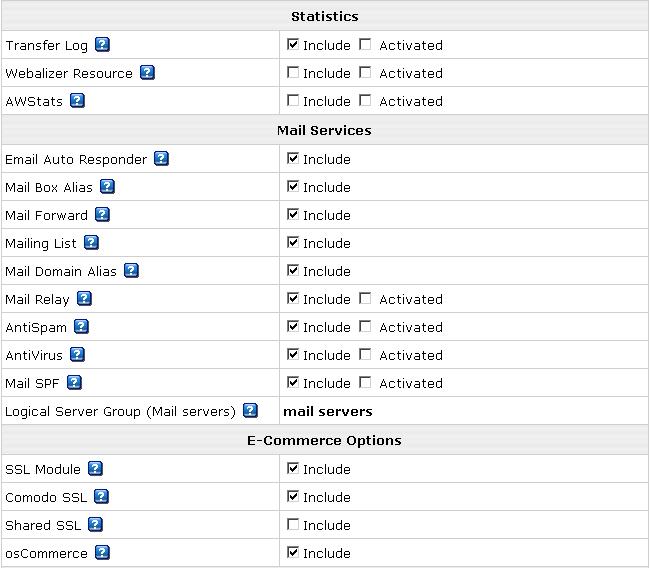
Transfer Log: Allows you to access raw logs
Webalizer: Analyzes log files
AwStats: Analyzes web files
Mailing List: Allows you to setup a Yahoo! group style mailing list
Mail Relay: A secondary mailserver that will capture email for you if the primary one goes down
Mail SPF: This is if you wish to use the Sender-Policy Framework on your email. For more visit their website
Shared SSL: Allows you to setup Shared SSL on any domain based on our certificate unless you have installed your own Shared SSL certificate
OsCommerce: Free shopping cart system
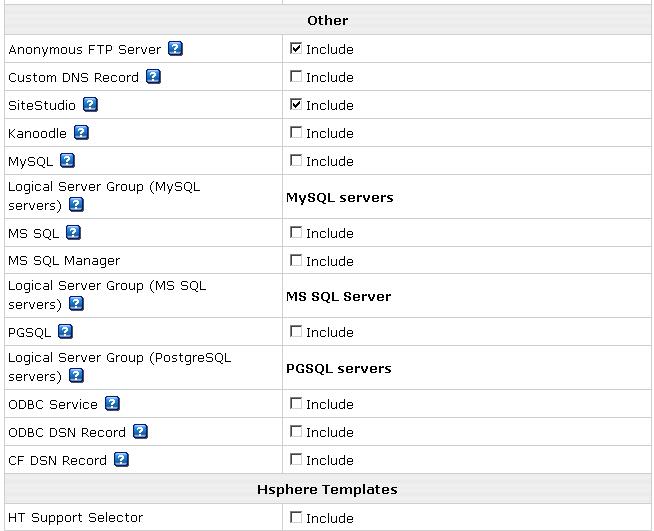
Anonymous FTP Server: Allows end-users to configure anonymous FTP under this plan if needed
SiteStudio: Allows end-users on this plan to create websites using an online wizard
MySQL, MSSQL, PGSQL: These resources can be enabled on both Windows & Linux plans since Database resources are hosted on their own database servers independent of the web servers.
MSSQL Manager: Provides a web-interface for end-users to manage their MSSQL database. ASP.NET must be enabled to support this feature. Using MSSQL manager is not possible on ColdFusion plans and you must directly use Enterprise Manager or visit its online version here: www.aspenterprisemanager.com
ODBC Service: Allows you to use ODBC services on Windows accounts
ODBC DSN Record: Allows end-users to create data sources for their databases, on Windows accounts
CF DSN Record: This allows ColdFusion users to create ColdFusion datasources
HT Support Redirector: If you wish end-users under this plan to visit a separate support URL instead of the integrated HSphere support center to get support, enable this feature. You can specify the different support URL from 3rd Party Components > HT Support Selector in your Reseller Admin CP
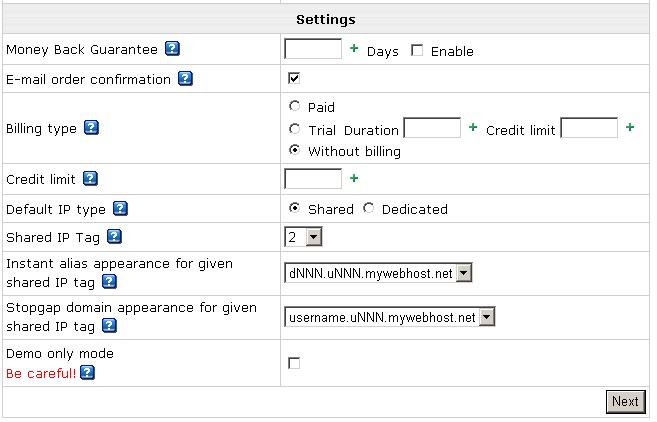
Since this is a Service Account plan and you will only host your sites from it, select "Without Billing" as your Billing Type. Leave rest as it is and click "Next". Billing options will be explained later in this tutorial. You should see this screen next
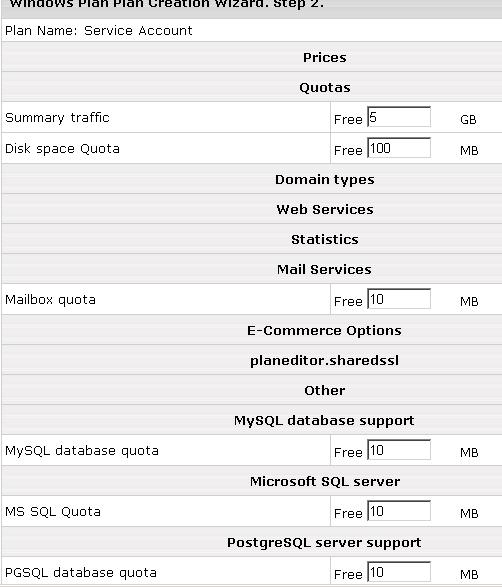
Please note that Mail Box quota, MySQL database quota, MS SQL quota and PGSQL database quota specify the quota of each database created. Since this is a "Without Billing" plan, you can create unlimited quantities of these resources and change their quotas once the account has been created without being billed. Click the "Create Account button" so that you reach this screen:
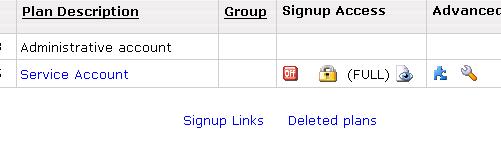
From here, turn on "Signup Access" for this plan.
Step 2: Signing up for Service Account
Once you have turned on Signup Access, you should see this screen:
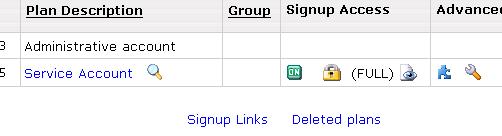
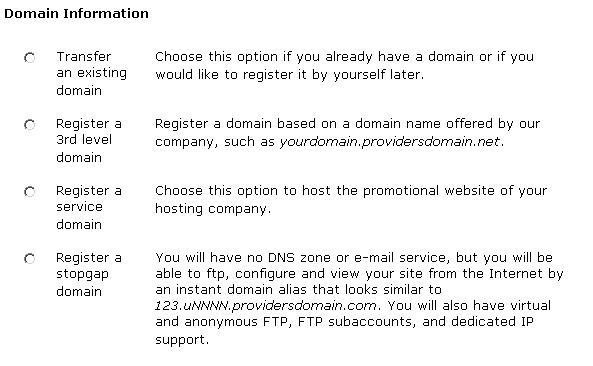
Click on the magnifying glass against "Service Acccount" to launch the registration wizard. In the middle of the registration wizard, you should see this screen:
 l l
If the primary domain you wish to host under the Service Account is the same as the dns zone you setup previously (i.e. mywebhost.net), select "Register a Service domain". if you want to host a different domain, select "Transfer an existing domain". You can add more domains at a later time once you have created this account
Complete the registration wizard and your account will be activated immediately. Your Administrative account page should refresh into the control panel of this new account. Press the back button (or relogin) to return to the Adminstrative control panel
You have now successfully create your first account. Please press "Next" to proceed further in this tutorial
|