3 - DNS Zone propagationStep 1: Creating Name servers
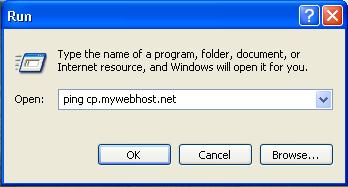
In order for your name servers and DNS zone to work, you must create these name servers with the Domain Registrar you have registered your dns zone domain with. Most domain registrars provide some provision to allow you to create your own name servers with them. Please contact them or read their Help guides to find out how. You can find flash tutorials on how to create your own name servers with several registrars here. If you registered your DNS zone domain with us as your registrar (from http://domain.jodohost.com - this is recommended), click on "Child Name servers" for your domain to create the name servers In the case above (if mywebhost.net was your DNS host name), you'd have to create all the listed name servers for mywebhost.net at your domain registrar, pointing to each of their corresponding IPs. i.e. Once you have created the name servers at your domain registrar, you must then point your DNS Zone domain to its authoratative DNS servers so your server aliases (such as cp.mywebhost.net) would work. Hence you'd need to set the name servers of mywebhost.net at your registrar to: Once again, mywebhost.net is just a demonstration domain name for this Step by Step guide. Please use your ACTUAL domain name.Once you complete these steps for your DNS zone host name, you'd have to wait upto 72 hours for DNS zone propagation to complete. Step 2: Verifying your DNS zone In Windows, Click on the "Start" Button and then click Run.
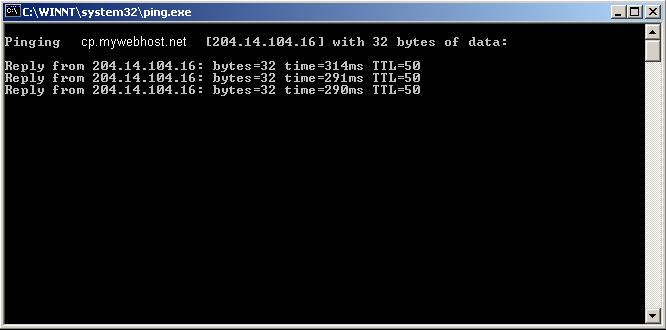
Click the OK button. If you see a screen like below where cp.mywebhost.net is resolving into an IP, your DNS zone has propagated properly
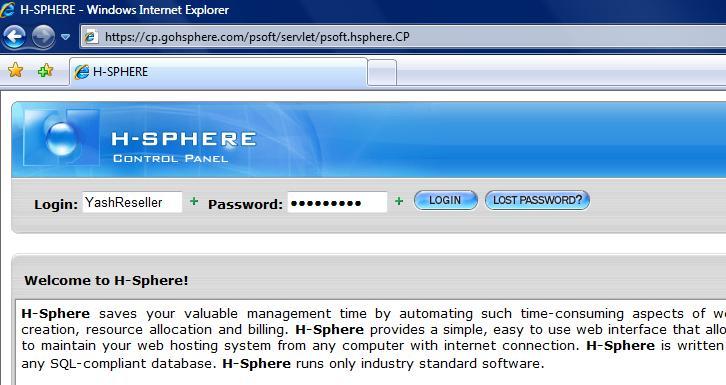
If you do not see a screen like this and instead, the Window closes immediately or you get "Host cannot be found", then your DNS zone hasn't propagated correctly and you should contact [email protected] You can also use this method to ping and check your name servers and other server aliases (win1.mywebhost.net, mail1.mywebhost.net, etc.) If anyone of them doesn't resolve into an IP, contact [email protected] Step 3: Changing your Control Panel's URL. Login to your reseller account like before from the CP url sent to you in your Welcome email:
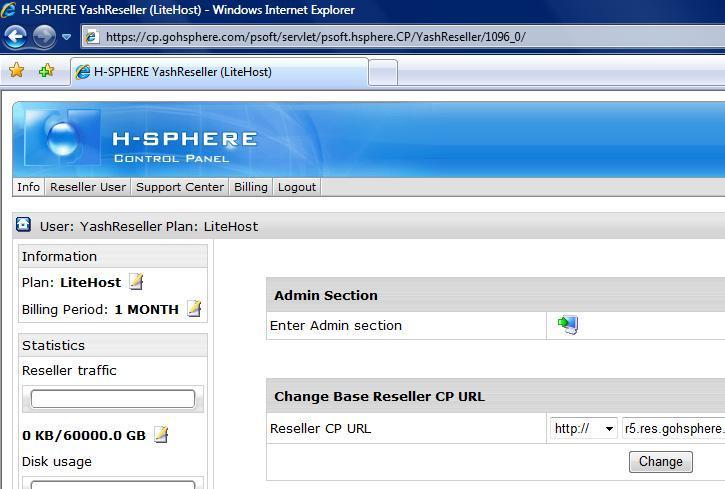
After logging on, you should see a screen like this:
Look at the "Change Base Reseller CP URL" table
Ensure:
Once done, click "Change". You'll be taken back to the same screen. Now, when you enter the Admin CP section, you will see that the CP URL has changed to cp.mywebhost.net. Your customers will be able to login to their webhosting accounts from http://cp.mywebhost.net |
| Next >> |