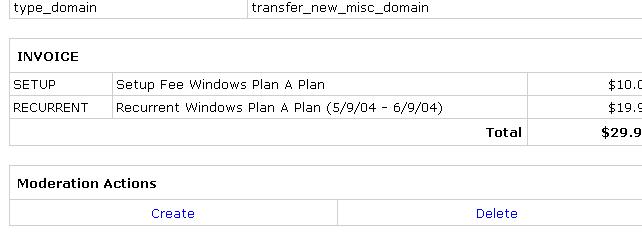
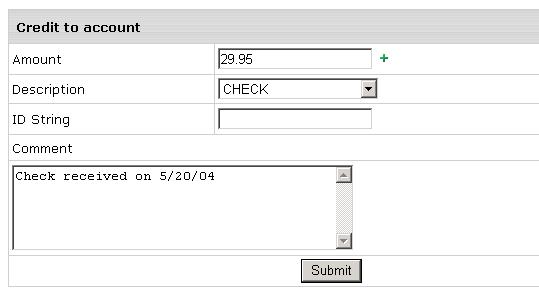
6 - Basic Account ManagementStep 1: Activating a Moderated Account In the last step, you registered a paid account. This paid account was not activated immediately. This was so because you had chosen "check" as your billing type and payment for that account hadn't been received for that account immediately. If you had created that account in trial mode, it would have been activated immediately. You could however force Trial accounts to be activated manually by you (called moderation) or have a paid account activated immediately (by integrating a merchant gateway such as authorize.net or paypal that would send credit card payment confirmations back to the control panel immediately). For more on account moderation, please refer to the Reseller documentation From the Signup Menu, please select "Moderate". You'll see a screen as follows with the account you just created
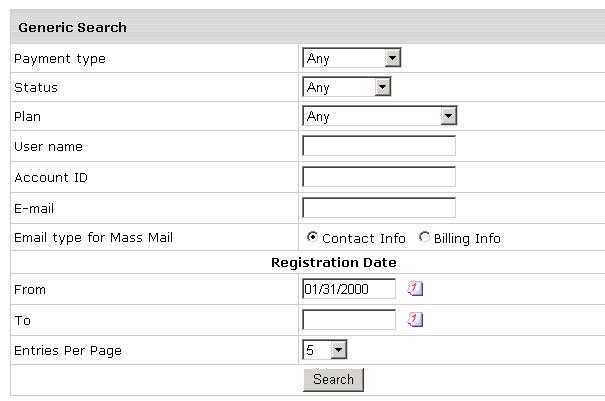
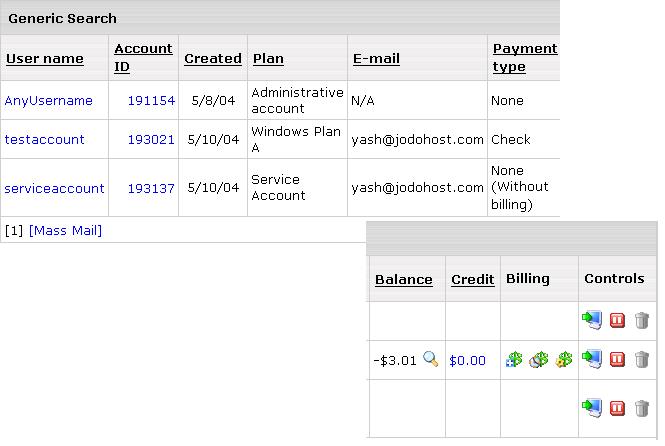
Any easy way to view all accounts present in the system is by selecting "Generic" from the Search menu so you end up on this screen:
Congratulations! You now have enough basic knowledge to operate and run your hosting business. If you are still waiting for your DNS zone to propogate, it is recommended you wait for that to be completed before selling any hosting. Once completed, you should revert to Step 3 to test your DNS zone and to change your control panel URL to http://cp.mywebhost.net. Currently, you may have noticed that your control panel URL is similar to http://r2768.res.myhsphere.biz. Once you change your CP url, your customers could login to their accounts from cp.mywebhost.net The information provided in this tutorial is just basic. To understand, learn and control more advanced options and features our reseller packages offer, you should read our Reseller Documentation We wish you good luck in your new venture! |